Detailing Around Continuous Exterior Insulation
Installing rigid rockwool exterior insulation to a building has great benefits like improved thermal performance and reduced risk of condensation-driven moisture damage, but it requires careful detailing to ensure bugs and water stay out of the wall.
This post focuses on how I detailed the bug screens, windows, and wall penetrations to try to keep the pests and the water out.
Bug screens
My exterior wall detail includes Hardie Plank siding over a 0.75" rainscreen gap (1x4 furring strips), 2" of rockwool exterior insulation, and taped Zip Sheathing (air barrier). This leaves a 2.75" opening at the top and bottom of the wall for bugs and critters to enter.
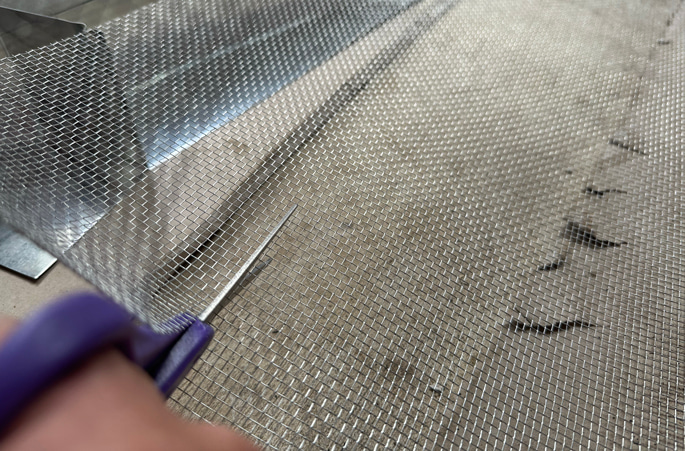
To keep out larger critters like mice, I installed 1/8" hot-dipped galvanized woven wire mesh hardware cloth. The steel mesh should prove plenty durable for this task. Since hardware cloth comes in big rolls, I cut it into 6" strips using scissors. For insects and bugs, I opted to double up coverage by installing fiberglass screen mesh (like you would use on window screens) on the interior side of the hardware cloth.
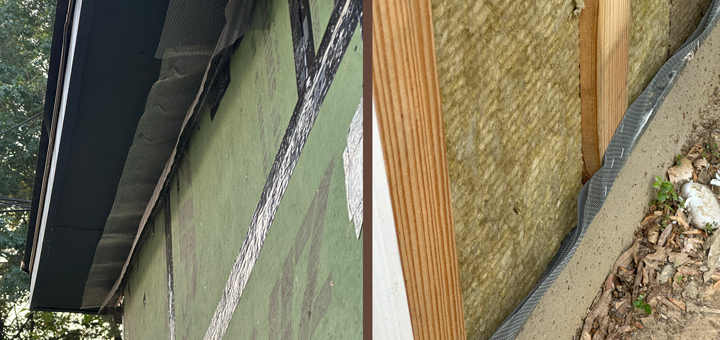
Both were stapled to the sheathing and wrapped around the rockwool/furring, then stapled to the furring (forming a U shape). I've seen people recommend things like perforated metal J channels and Cor-a-vent, but they were too expensive for my liking.
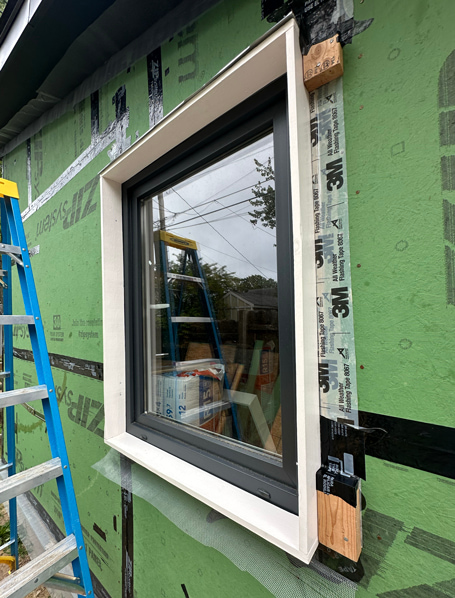
Window detailing
Window installation, including the sill, flashing, and air sealing, is covered in another post, so we'll focus on the window box, drip cap, and bug screen detailing here.
Window Box
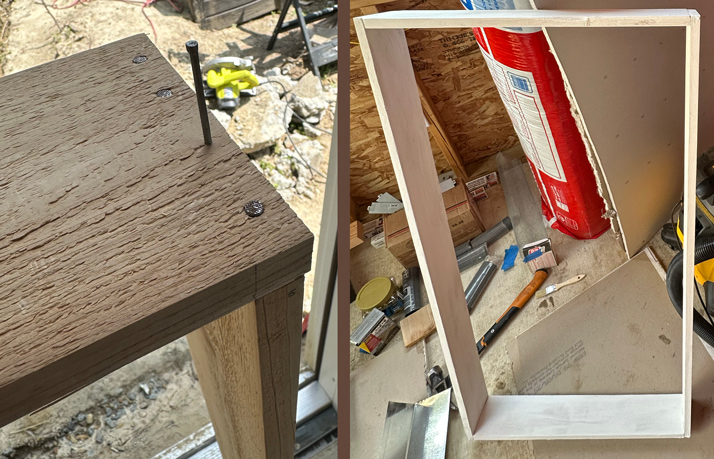
I built a cedar window box for each window, sized slightly smaller than the window frame so it would hide the flashing tape. The window box was tapered slightly at the top and bottom to help water drain off. The joints were simple butt joints made with trim nails. The top and bottom boards were longer than the vertical boards to help keep water from getting into gaps.
Once the window boxes were done, I primed and painted them.
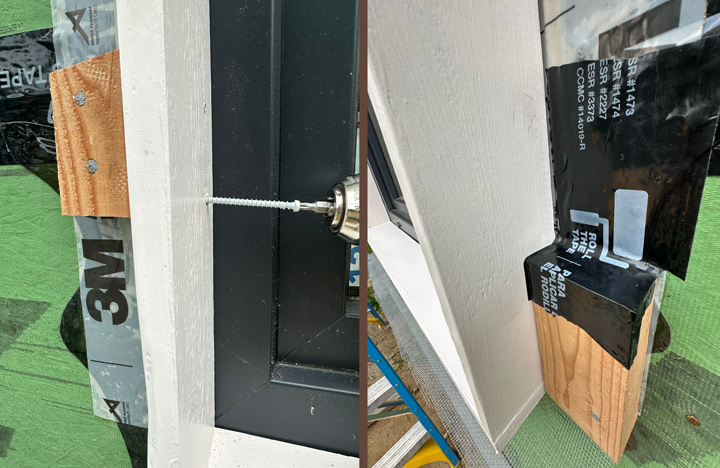
To install them, I nailed small 2x4 offcuts (tapered slightly for drainage) to studs along the vertical part of the window box. This provided a friction fit as well as a surface to screw into. I don't expect the window boxes to receive a ton of weight, or I might have installed a support below them as well.
The 2x4 offcuts were covered with Zip flashing tape.
Bug screening
I approached bug screening around the windows the same way I approached it at the top and bottom of the wall. Metal hardware mesh and fiberglass insect screening were used in a U shape to try to keep bugs out.
Drip caps
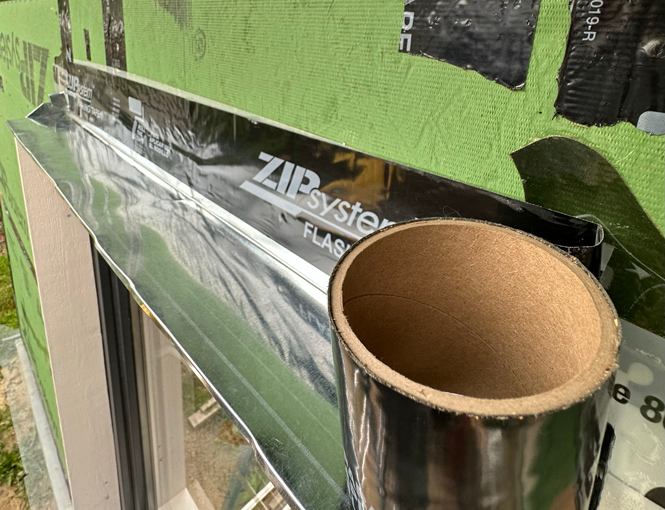
The top of the window boxes were covered with DIY drip caps made from 4x4 galvanized steel L flashing, cut to size with aviation snips and bent to shape with a straight jaw sheet metal seamer. I nailed the drip cap into the sheathing with tiny stainless steel nails, then lapped the top and sides with Zip flashing tape.
Final details
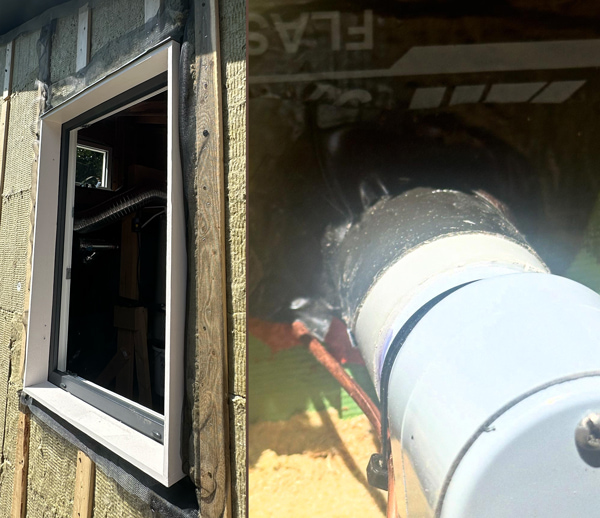
Once the insulation and furring strips were hung, the metal and fiberglass screening were wrapped around it and stapled to the furring. Any wall penetrations were flashed with a combination of Zip stretch tape and Zip flashing tape.
Up next
Next I install the Hardie Plank siding.