Sheathing the Shed / Workshop

If framing is the skeleton of a building, sheathing is both the muscle and the skin. It helps the building stand strong when forces like gale-force winds or earthquakes threaten to bring it down; it helps keep water and air out.
Which sheathing to use?
There are many different types of sheathing, ranging in thickness, make-up, and coatings. The main choice for the shed was whether to use Oriented Strand Board (OSB) or Zip Sheathing.
OSB is one of the most popular sheathing types for good reason: it's cheap and it works. It's made from small strands of wood which are glued, heated, and pressed together at high forces (600 psi) to form a solid, stable panel. Due to the small strands required, it can be made from young, fast-growing trees, making it a sustainable sheathing choice.
Regular OSB panels work well for structural purposes, but they can't keep water out on their own. To do that, an additional weather-resistant barrier (WRB) is added.
Also known as house-wrap, a WRB protects the sheathing from excessive moisture that might get behind the exterior cladding. Most house wraps are made of a synthetic material, like polyethyline or polypropyline, which is stapled to the OSB. These staples create hundreds of holes in the house wrap, and need to be carefully taped lest they leak air and water into the sheathing. Once properly sealed though, they create an air and water barrier. It's not a 100% watertight barrier though; that would be bad. If it didn't let water through at all, there would be no way for any water that gets into the building or the wall to dry out. Think of all the mold that would create... bleh!

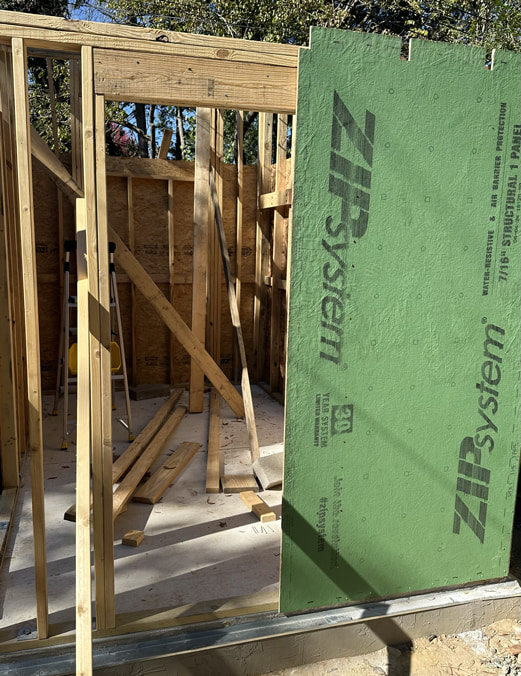
Zip sheathing is an OSB panel which integrates the WRB into the panel itself. It removes the need to punch hundreds of holes into the WRB with staples, making it easier to detail the assembly into an airtight and watertight assembly. This is done by using Zip-system tape to seal the seams of the panel. As mentioned earlier, a good wall needs a way to dry, so the facing of Zip Sheathing is still semi-permeable to water (2 perms) to allow water to dry out through the wall.
Zip it
I picked Zip sheathing because I didn't want to have to deal with applying a separate WRB. I've worked with housewrap before when I built a solar kiln, and it was a hassle stapling it all flat, without gaps, in a way that could be easily taped. House wrap might be great for professional builders, but not for me.
It was well worth the extra hundred bucks for me to be able to nail the sheathing on and be done with it. Plus, Zip sheathing comes in 8, 9, and 10 foot lengths, so I could order larger panels for my irregularly sized shed.
Shear walls
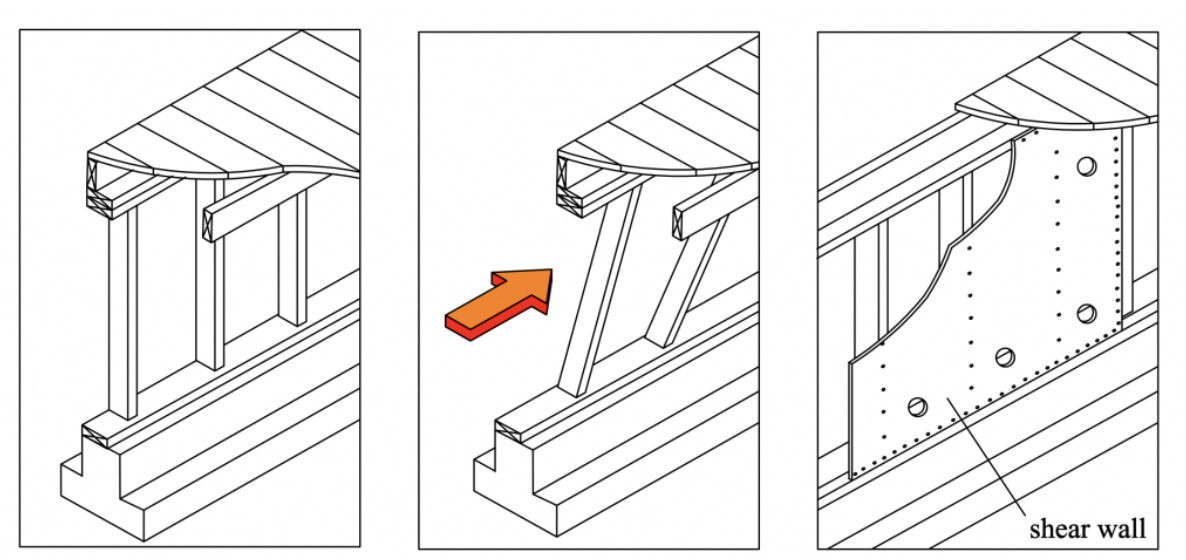
Before I talk about nailing the sheathing to the framing, I should introduce the concept of shear walls. A shear wall, in the context of this shed, is a braced wall panel which resists lateral loads (horizontal forces acting on the structure). The simplest way to think about them is that they stop a rectangle from turning into a parallelogram.
The panels use a specific nailing pattern and have solid wood members at all edges; typically these members are the vertical studs and the horizontal bottom/top plate, but they can also be horizontal members between studs called blocking. Shear walls also tend to utilize hold-downs to keep the ends of the walls from lifting up.
Nailing

The strength of a shear wall is determined by the thickness of the panel, the type of panel, the nail gauge and length, and the number of nails used. Zip has a list of published values for their panels using different nailing patterns
I used 8d nails at 4" OC at all panel edges, staggering the nails at seams, which provided a good compromise of strength and ease of installation (too many nails at the panel edges starts to make nail placement really matter to avoid splitting the panel and the studs). Additionally, any nails that went into the pressure-treated sill plate were hot-dipped galvanized nails to prevent corrosion.
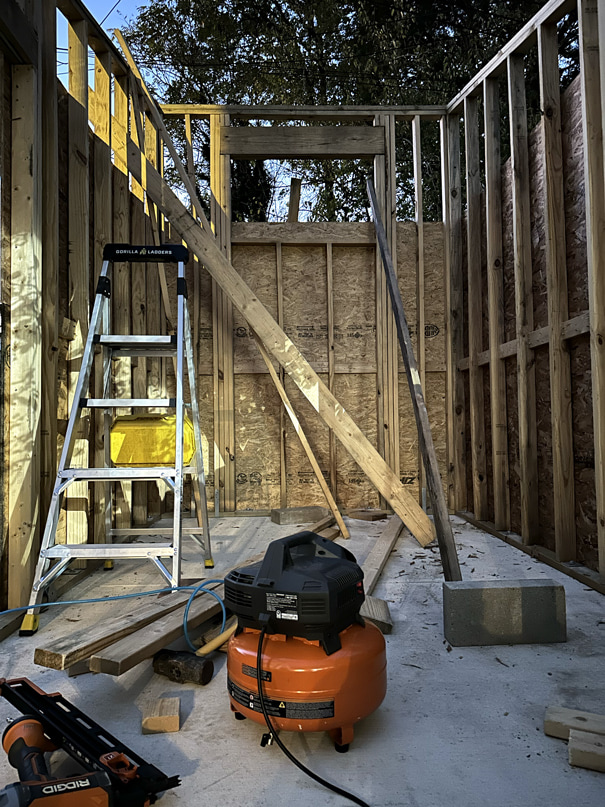
A pancake air compressor (which unfortunately does not have anything to do with pancakes) and a trusty 21-degree framing nailer made quick work of nailing up the lower panels. The compressor is loud though, and a bit of a hassle to lug outside, so sometimes I just hand-nailed the sheathing nails in. It's a lot easier to be accurate when the nails aren't flying at over 100mph.
One more important thing to note is that nails should be installed flush with the sheathing, not proud and not overdriven.
With the lower panels in place, I could start working on the next phase: a loft to help me work on the tall back wall.
