Adding a loft
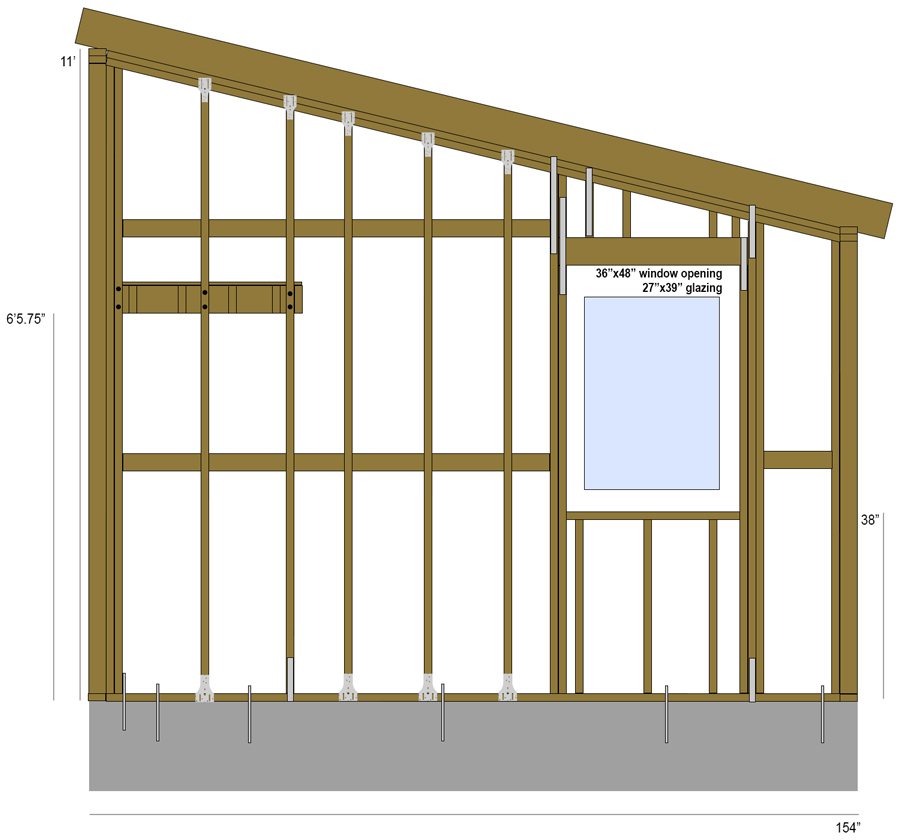
Why build a loft?
A loft serves two purposes:
- Offers a platform to work from while building the shed/workshop.
- Provides storage space after the shed/workshop is built.
The loft design
Before figuring out the structural components of the loft, it was important to think about how the space would be used. I wanted to maximize loft storage space while also maximizing usable shop space (including vertical space). No sense building a giant loft if it means I'm whacking boards into the walls and ceilings every time I try to move them around.
The loft floor needed to be high enough to be out of the way (and ensure tall friends wouldn't hit their heads on the floor joists), while being low enough that it isn't butted right up against the ceiling (rendering it unusable for storage).
I settled on a 38"x93" loft with joists raised 6'5-3/4" above the floor. 24.5 sq ft of loft space sounds small, but it offers a good compromise of wood storage space vs workshop space.
Structural Considerations
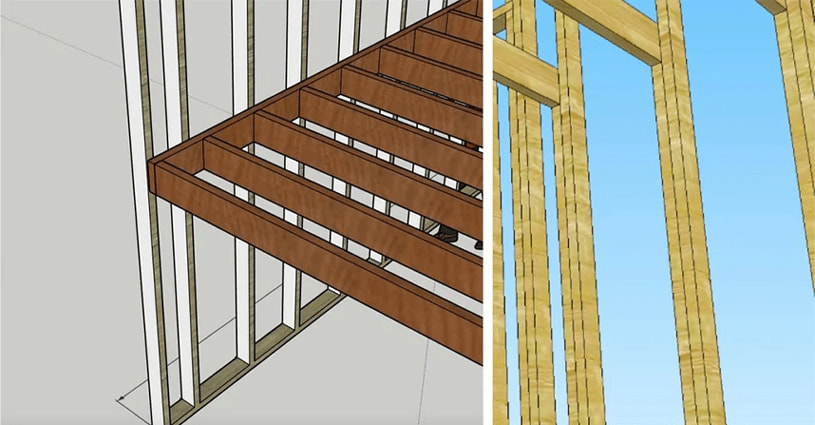
There are a few ways to build a loft, each with pros and cons.
Ledger Boards
One method is to screw a ledger board into the studs. Joists are hung off the ledger board and secured using joist hangers. This method is straight-forward, provides plenty of strength, and uses minimal lumber.

Per a Technical Evaluation Report by PrimeSource Building Products, Inc, 5/16" GripRite Structural Screws have an allowable load of 655 lbs per stud connection when using a 2x6 ledger.
Cripple Studs
Another method is to install additional, cut-short studs which have the joists resting directly on them. This method provides a higher load capacity since the joists are bearing directly on the studs below them. However, it uses additional lumber and is a tougher method to get a level floor with.
In the end, I decided to go with the ledger boards option.
Sizing the joists
The IRC have specifications for the maximum span of a floor joist before it is not allowed to be used. The larger the floor joist, the closer the spacing, and the higher quality the lumber, the longer the joist is able to span. Since the loft spans 7'9" from one side to the other, I needed to make sure the design I used could span the distance. To do this, I used the American Wood Council's Span Options Calculator.
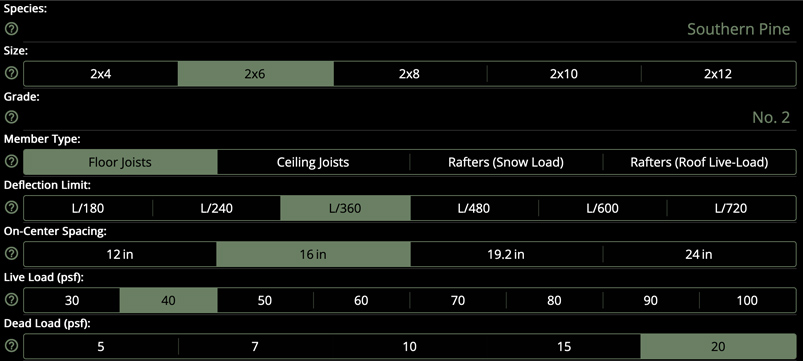
A #2 2x6 Southern Yellow Pine (SYP) floor joist can span 8'6" at 16" OC spacing using the VARC's deflection limit for floors of L/360. The 2021 VARC's floor joist span table specifies an even higher max span of 9'4" for the same values. Since my span is only 7'9", it is acceptable to use a #2 SYP 2x6 at 16" OC spacing.
Installing the ledgers, joists, and joist hangers
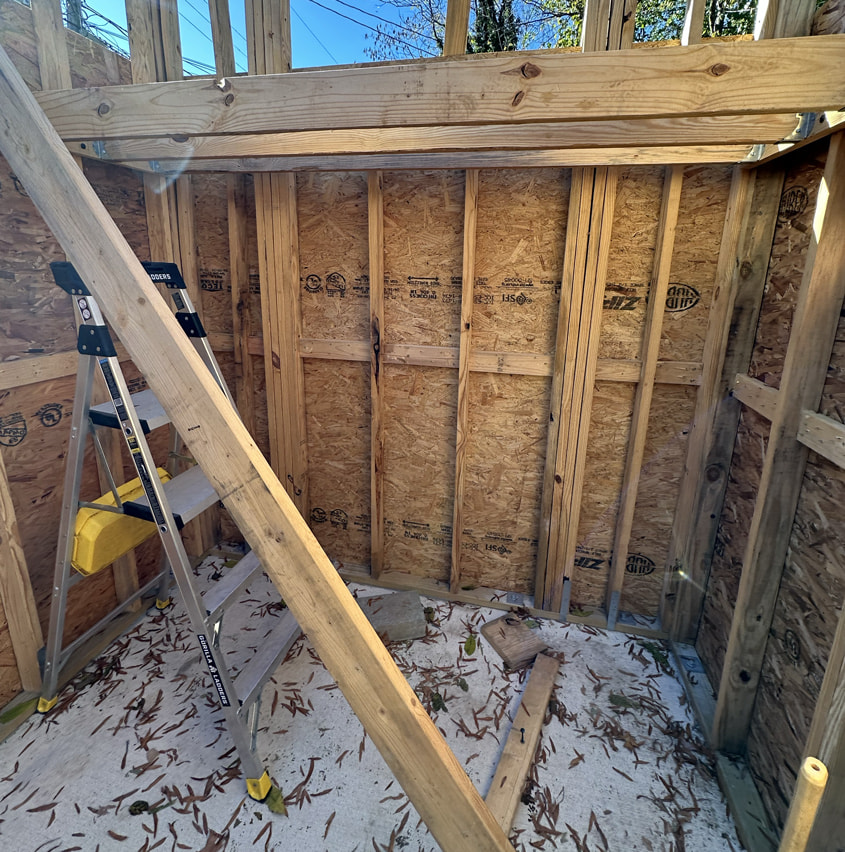
I installed the 2x6 ledgers according to GripRite's installation instructions, attaching the ledgers to three studs on each side using two screws per stud.
The next step was to attach the joist hangers.

I used Simpson Strong-Tie's MUS26 joist hangers to hang four joists off the ledger. Since the ledger was 2x6, I used 10d 1.5" joist hanger nails instead of 3" nails, reducing the allowable load to 0.77 of the table values. One helpful thing to note with joist hangers: you want to make sure you don't leave more than 1/8" of a gap between the joist and the ledger board, otherwise the load values are further reduced due to reduced fastener penetration and increased rotation/downward force.
I also installed an extra 2x6 from stud to stud on the last stud (outside of the ledger board) for aesthetics.
Installing the loft floor
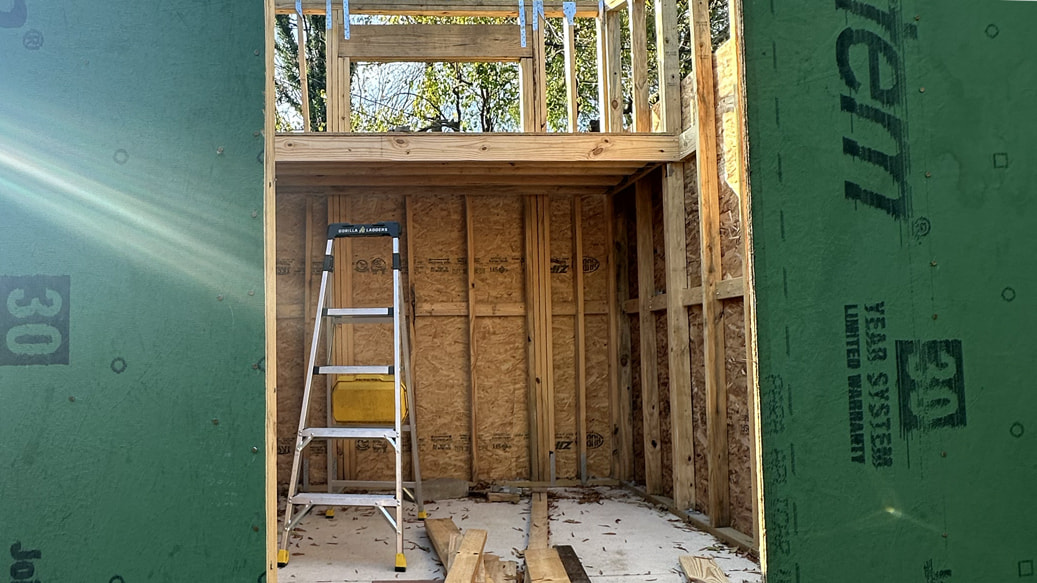
With the joists in place, it was time to install the loft floor. I used Advantech 3/4" Tongue and Groove Subfloor glued to the joists with Loctite PL 400 Subfloor Adhesive and screwed in with 2-1/2" #10 wood deck screws.
Notes: Yes, I added cripple studs to the back wall header later as well as blocking behind the ledger for fire-blocking and strength.