Roof Design and Rafters
Per usual, it starts with the design
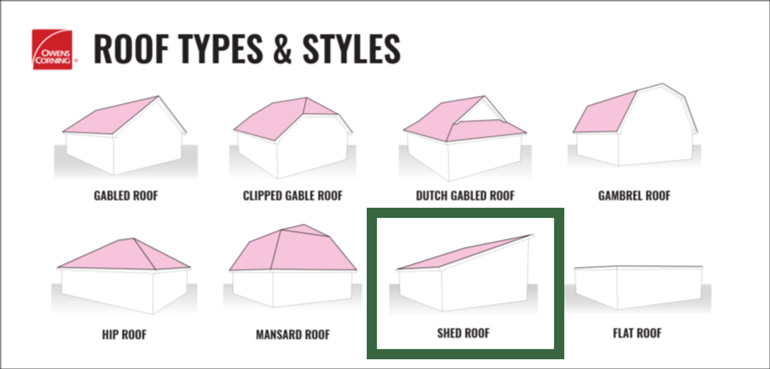
You'll never guess which type of roof I chose... a shed roof! Also called a skillion roof or a monoslope roof, it's a roof with a single slope.
It's great for my shed/workshop:
- It's simple
- Only one side requires a gutter
- No ridge beams or collar ties
- The design provides room for a loft
- Shed is in the name
Selecting the right rafters...
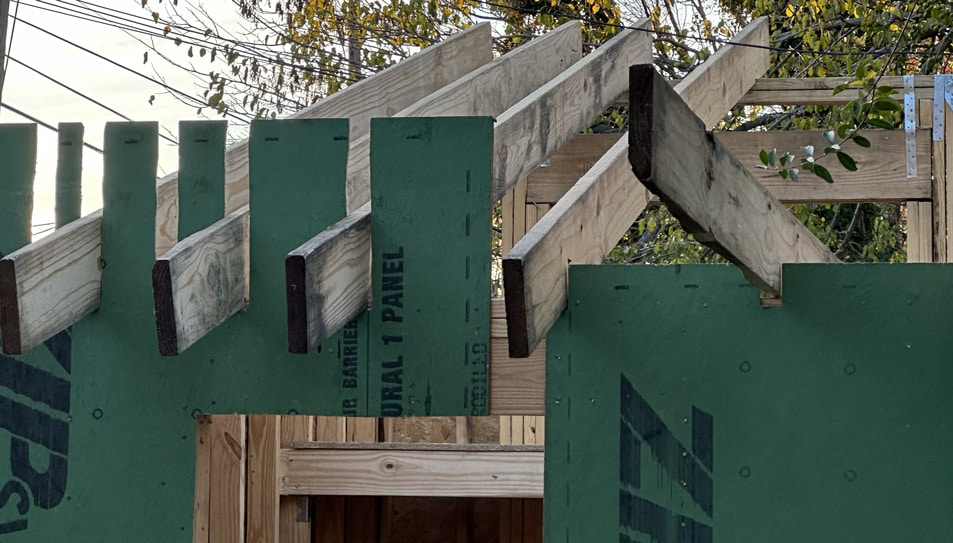
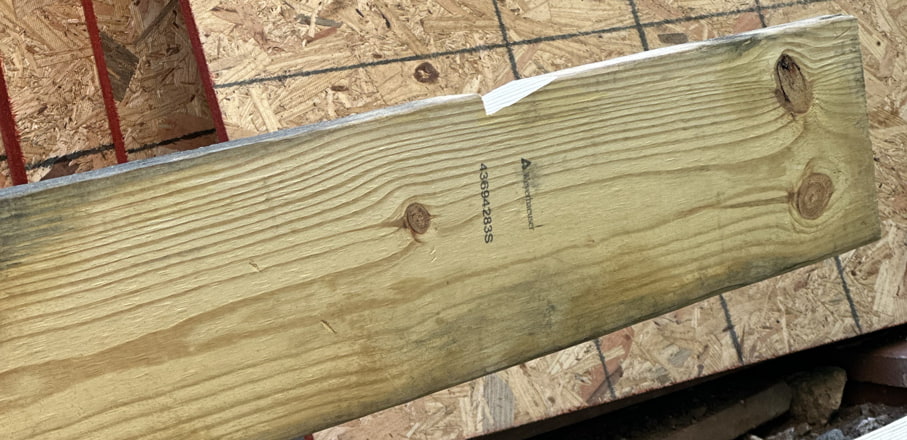
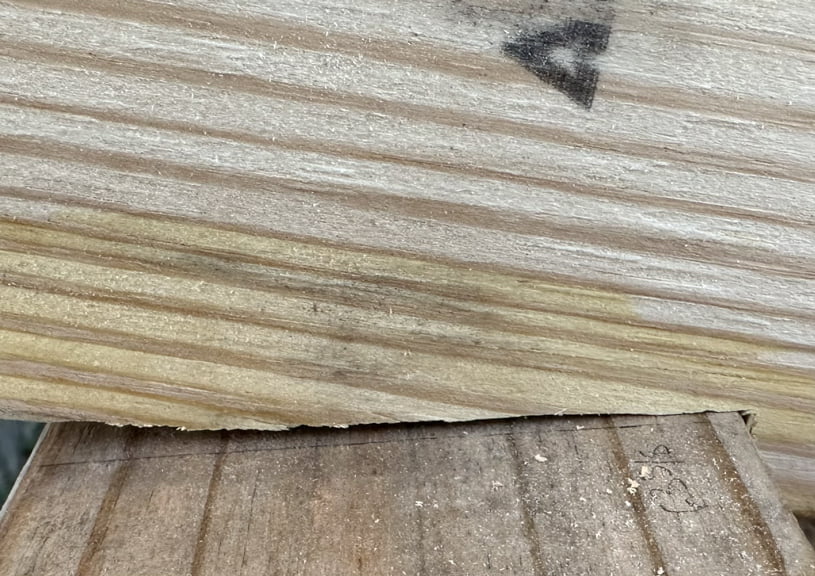
See those big boards of lumber? They carry the weight of the roof sheathing, shingles, and additional live loads (like snow or wind) down to the top plates.
Two criteria governed my choice of rafters: insulation depth and structural capacity. While putting insulation above the roof is a great option to reduce thermal bridging and avoid the need for a vented roof, I'm putting insulation between the rafters to reduce the height of the building. With neighbors to consider, I want to avoid an excessively tall building.
Venting
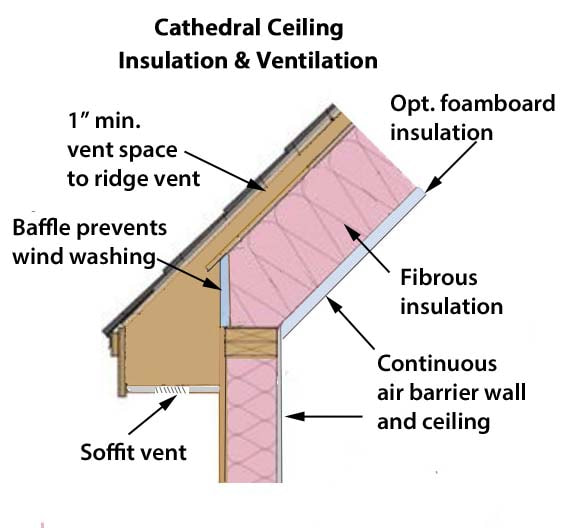
The IRC requires at least 1" of space between the insulation and sheathing to allow for venting (this reduces the possibility of mold or rot), while best practices tend to advocate for 2". While the 2018 IRC requires a minimum R30 of insulation, since my shed/workshop is so small, and doesn't have to follow building codes, this is one area where I'm going to do less. I chose to do 5.5", R23 batts of Rockwool.
Structural Loads
It seems every decision in a building influences and is influenced by another decision.
The IRC has specific requirements for the size and type of lumber to use for rafters based on the span length and loads.
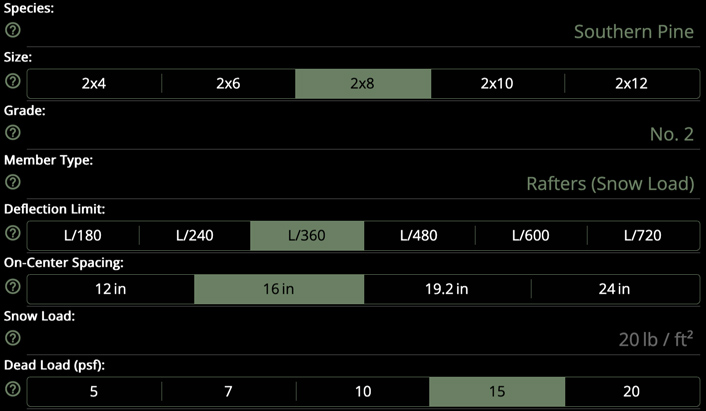
My jurisdiction has structural design requirements of 20psf for snow load. While I'm not required to follow the building code, these design requirements give me a number to use for calculations. Per Table R802.4.1(1), a 2x8 #2 Southern Pine rafter at 16" OC spacing can span a max distance of 14'9". With my building footprint at 100"x154", and a change in height of 39" from shorter wall to taller wall, the rafters needs to span 12'3" and are 12'8" long along that span. I double-checked the max span length using the Span Calculator and it spit out a value of 15'2". My span is well within both calculations. Plus, I have room for 5.5" of insulation with 1.75" of venting space. It's a bit of a compromise, but it should work well.
Note: see AWC's tutorial on loads and span tables for more in-depth information about choosing rafters and picking design values.
Measuring and cutting the rafters
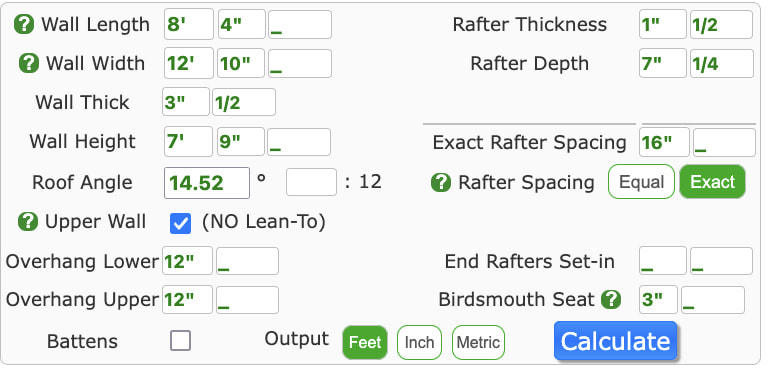
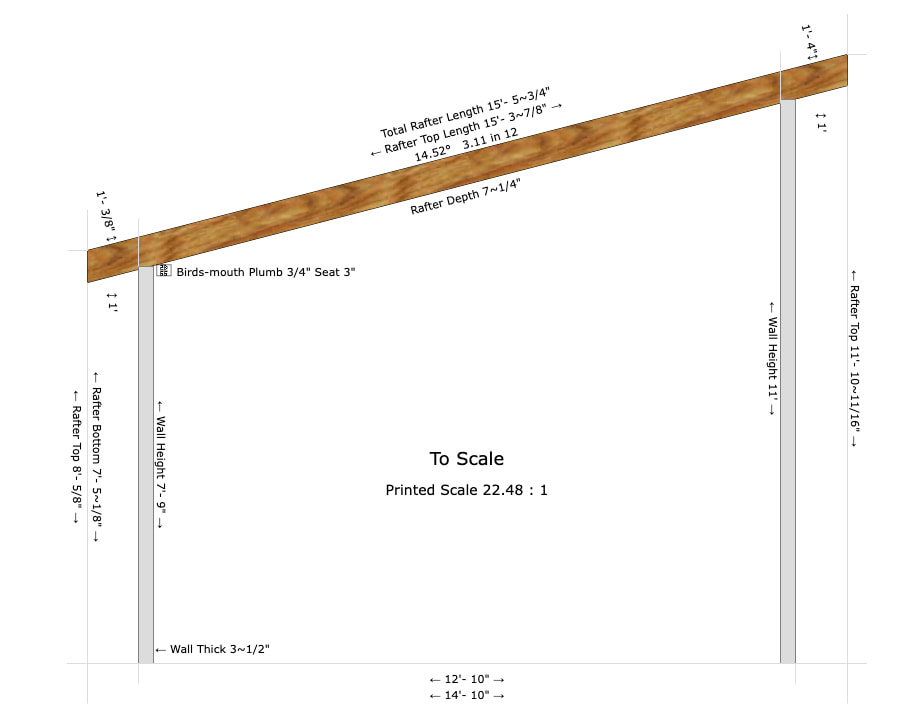
To figure out rafter length and placement I used a handy Lean-to Roof Calculator with the above settings. It produced the following:
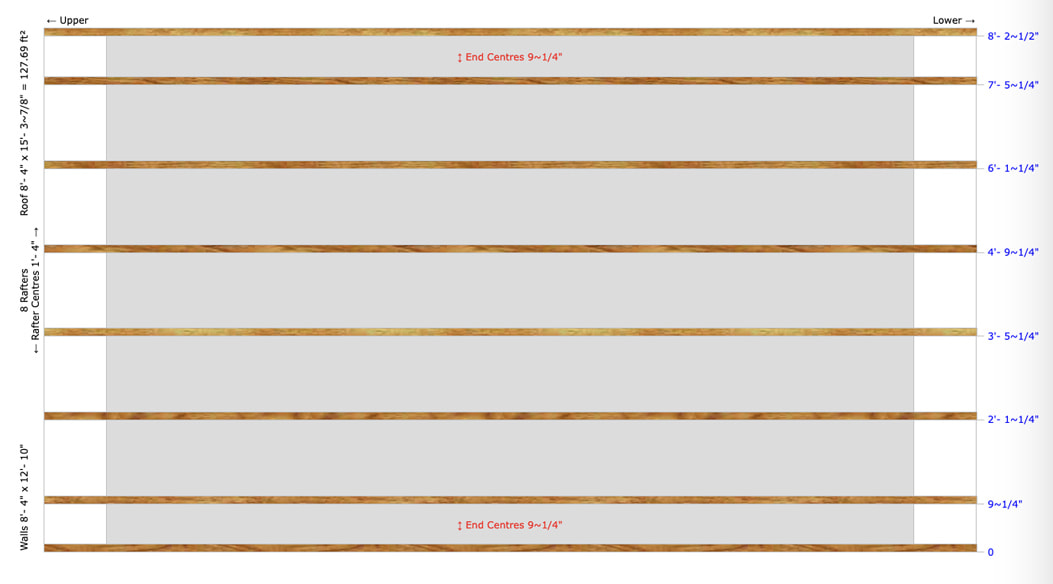
It also detailed where and how to cut the birds-mouth cuts, which allow the rafter to bear securely against the top plates.

Putting it all together:
Cutting the rafters
With my calculations in hand, I measured and cut the birds-mouths. The first rafter functioned as a trial and I actually hoisted it up onto the top plates after cutting the first birds-mouth so I could be sure it would fit. Then I cut the second birds-mouth and used that as a template to cut the rest of the rafters.
I had to shift the rafter layout to accodomate the location of some of the Simpson Strong-Tie SPH4s. Thankfully there was enough wiggle room with the end rafter locations be able to adapt.
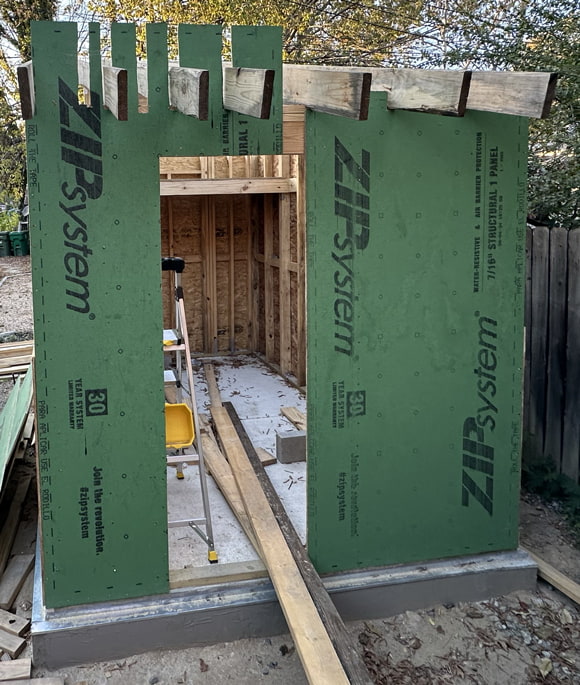
You might notice that the sheathing extends above the roof. I did this so I could tie the blocking into the sheathing for greater strength and stability. If I did it again, I would have calculated the blocking height before-hand and cut the sheathing to an appropriate size. It would have saved me the trouble of breaking out a sawzall 8' up in the air.
One nice thing about extending the sheathing up was that it held the rafters in place until I could fasten them down.
Fastening rafters
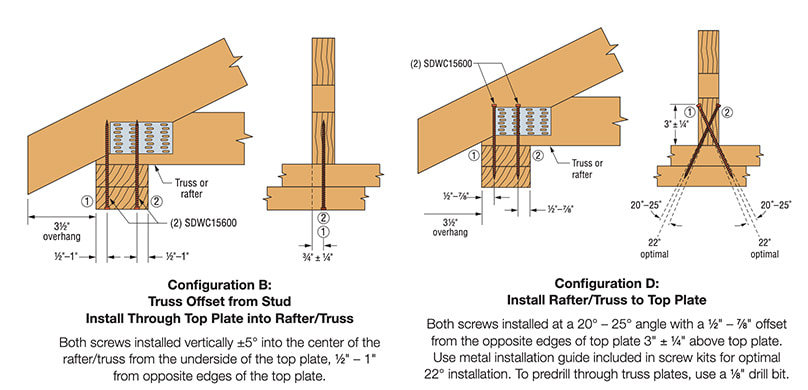
The 2021 VARC offers four ways to fasten rafters to the top plate. After fastening the rafters, I installed two Simpson Strong-Tie Truss Screws into each end of the rafter, giving the rafters 960-1,115 lb allowable uplift loads, 385-405 lb allowable parallel force, and 610-680 lb allowable perpendicular force.
Blocking
Once the rafters were situated, I installed blocking between them. This satisfies Section R802.8 of the VARC which requires lateral support at points of bearing to prevent rotation. I cut the blocking short to allow the required space for venting.
Up next: Finishing up the rafters
Next I build and install gable overhangs, sub-fascia, and rafter tails. Stay tuned.