Rafters Part II
Once the rafters were in place and securely fastened, I got to work prepping for roof sheathing.
Cutting rafter tails and installing sub-fascia
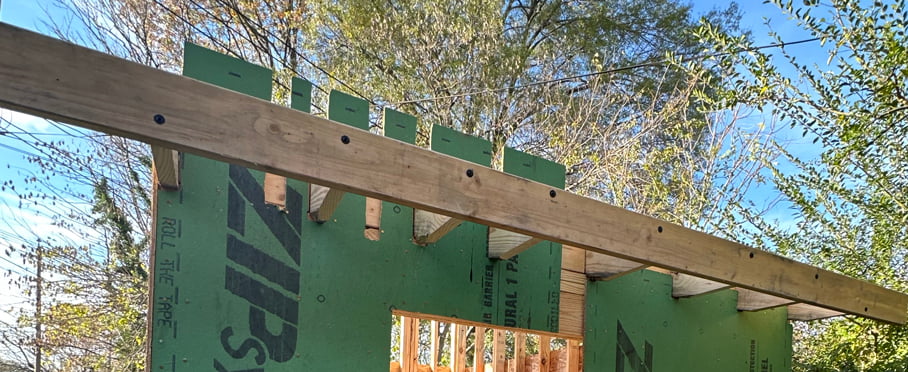
The first thing I did was cut my rafter overhangs into rafter tails by sawing off ~2" from the underside. This allows the soffit to sit parallel to the ground instead of running at an angle. It also allows me to use a smaller board for my fascia and sub-fascia, saving money and providing a cleaner look.
Cutting the rafter tails at the tall end of the wall was not fun. If I did it again, I would consider pre-cutting them while the rafters were on the ground (but then I would need to make sure my angles were 100% correct before lifting them up and fastening them down).
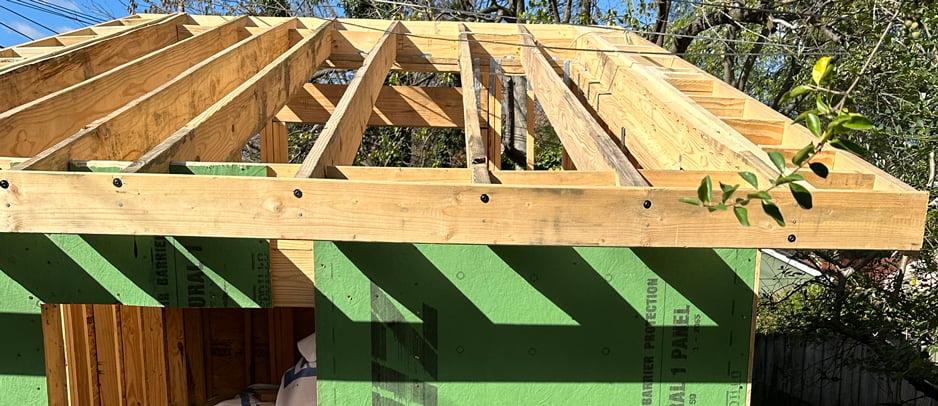
I attached a 2x6 Southern Yellow Pine board to each of the rafters using structural screws, then finished up by hammering in some framing nails.
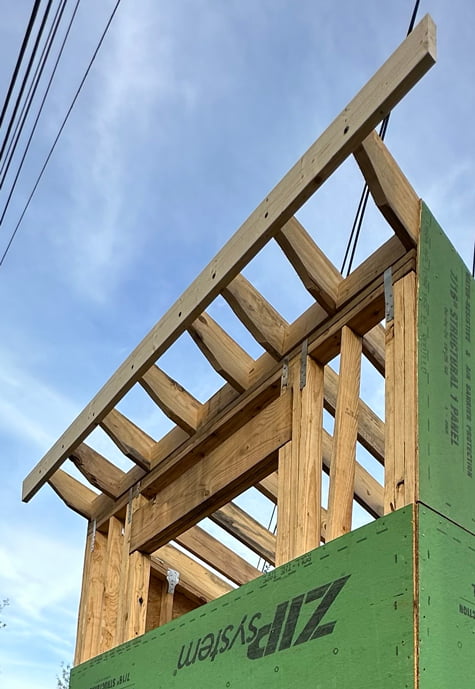
Building gable overhangs
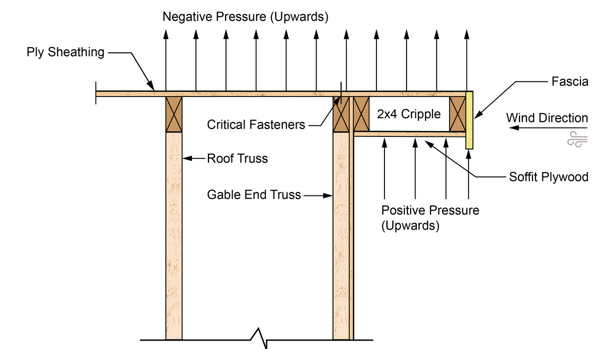
Gable overhangs are the part of the roof that extends beyond the rake walls (the side walls in the case of my shed). They are typically attached via an outrigger method or a ladder framing method. The outrigger method is stronger, but more complex to detail. Since the wind design speed for a Cat II building (ex: a single family residence) in Virginia is 115mph, and my overhangs would not extend more than 12", the ladder method sufficed.
They really do look like ladders.
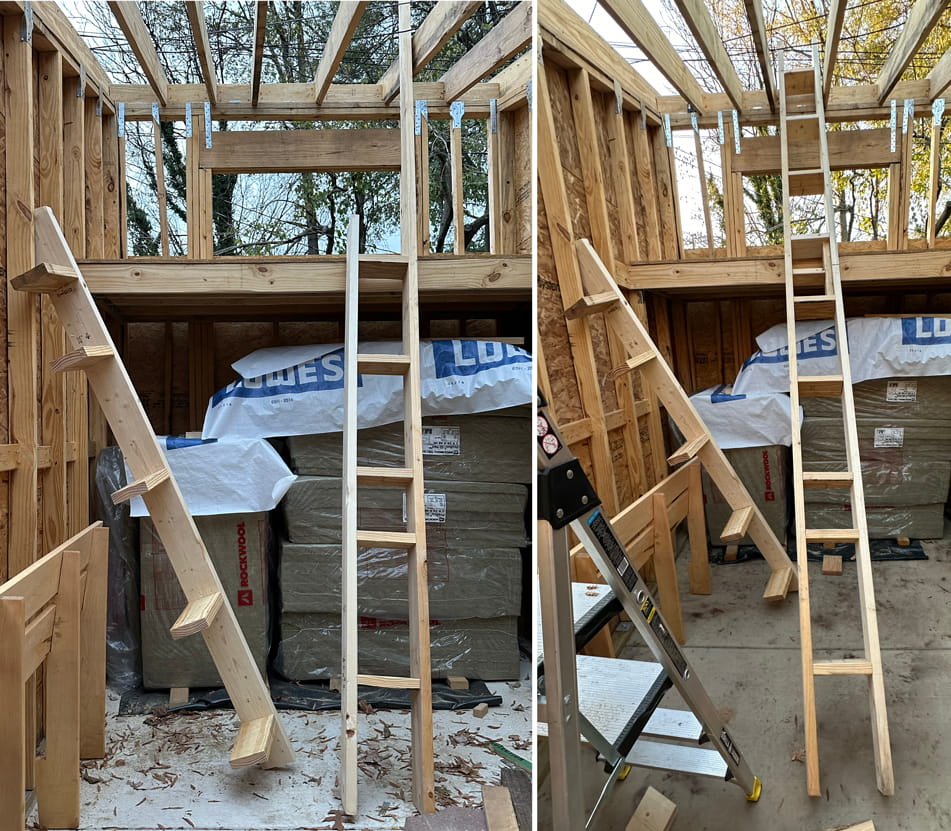
All done
I lifted the rafters into place using a sketchy improvised method of resting one side of the gable-ladder on an actual ladder while standing on the loft and pulling the other side of the gable-ladder up using a rope. Temporary wood blocks were attached underneath the gable-ladder to help keep it in place, then big 4" structural screws secured it.
Up next
Next I install sheathing, then the roof is magically shingled (I hired a roofing crew). Stay tuned.