Putting a roof on
Roof sheathing is very similar to wall sheathing in that it strengthens the structure, provides a nailing base for exterior systems, and has design guidelines set forth in the 2021 VARC.
Roof sheathing selection
Table R503.2.1.1(1) lists the max allowable spans for various sheathing thicknesses. Since my rafters are spaced at ~16" OC, I could have used OSB as thin as 3/8". But stronger sheathing allows for higher loads, feels safer to work on, and is only a few bucks extra. So I opted for 5/8" sheathing.
Fastener design and spacing
The American Wood Council (AWC) "2021 Special Design Provisions for Wind and Seismic (SDPWS) provides criteria for proportioning, designing, and detailing engineered wood systems, members, and connections in lateral force resisting systems."
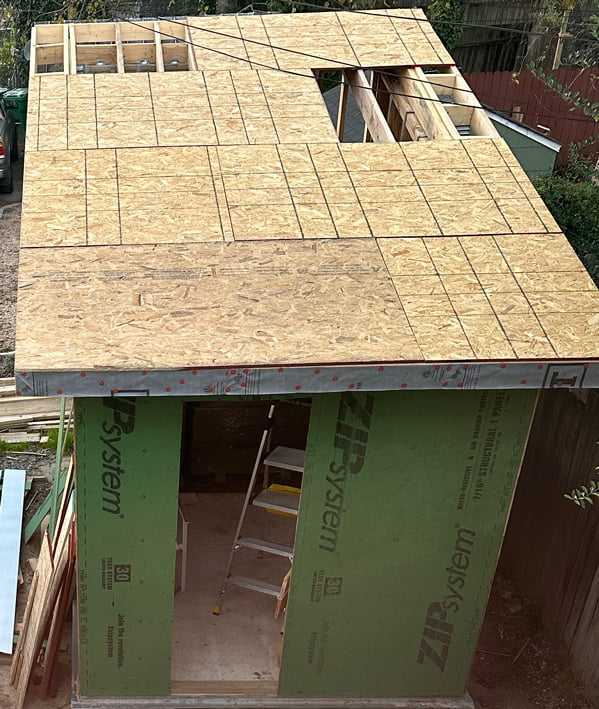
In Table 4.2C, they note that 10d nails at 6" spacing provides 800 plf and 14 kips/in. In basic terms, this means the roof will be able to resist up to 800lbs of in-plane forces per foot of roof width or length, like wind or earthquake loads trying to push the sheathing sideways. The 14 kips per inch value indicates that the roof will be very rigid; it would take a very large force to deform the roof even slightly.
For out of plane forces, like wind trying to lift the roof off, the capacity of the fasteners is more than enough, so the panel's bending capacity itself determines how strong the roof is. The SDPWS lists a capacity of 690 psf for 5/8" OSB rated at a 40/20 span.
Installation
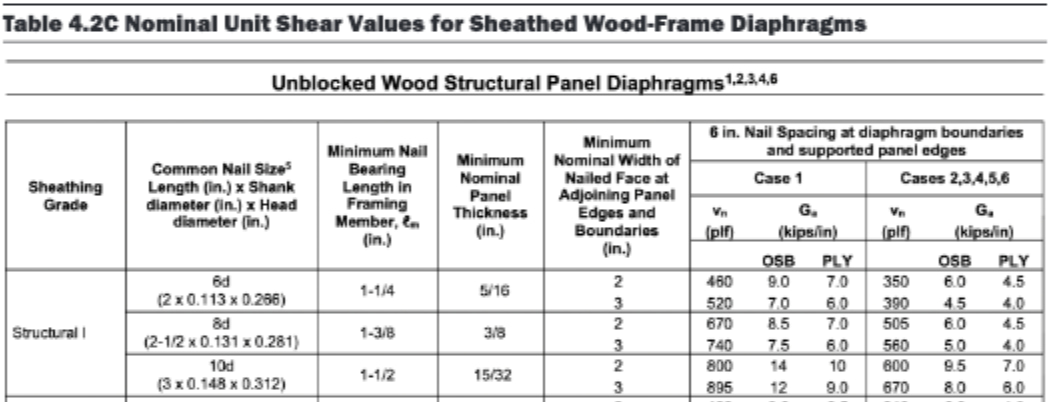
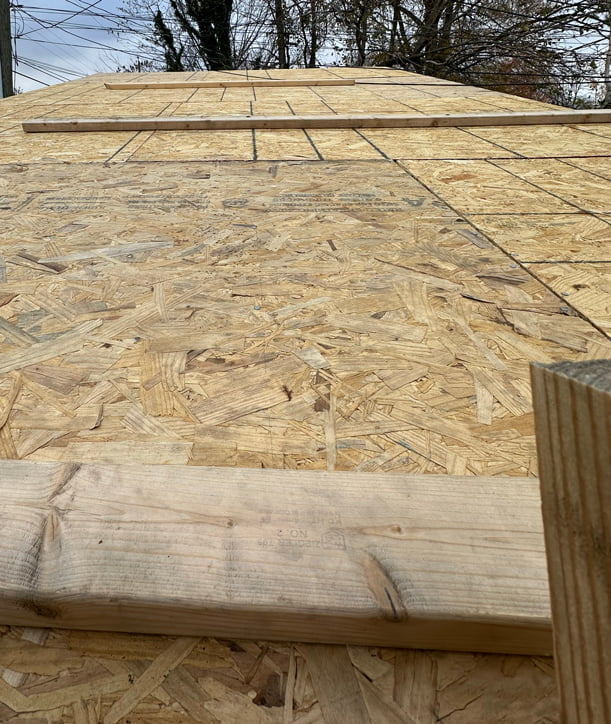
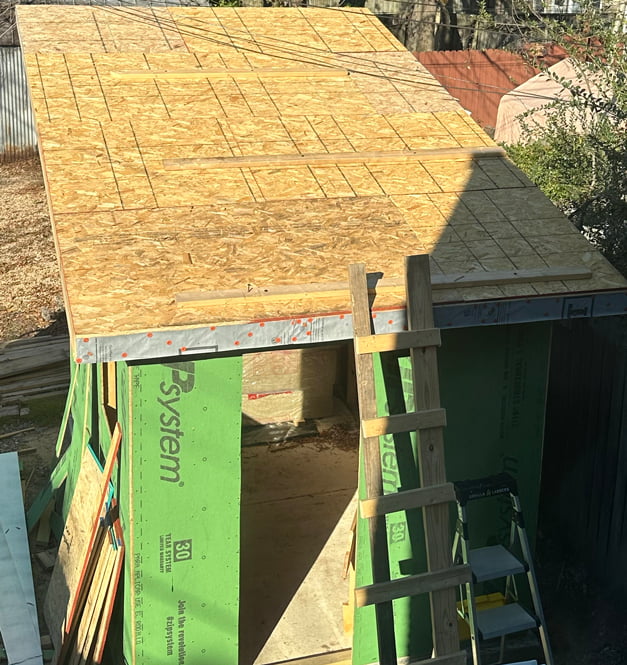
Installing the sheathing went pretty smoothly. I went one panel at a time, lifting and sliding the panels up from the lower side of the roof. I put 8d nails between panels to give me the approximate 1/8" spacing between panels until I had them nailed off. An 8' ladder and the loft space were both crucial for installing the panels as I went up the roof.
For the highest panels, I had to get up onto the roof. I screwed some 2x4s through the sheathing into the rafters to help me keep my footing while up there.
Underlayment, Ice & Water Shield, Drip Edges, and Shingles
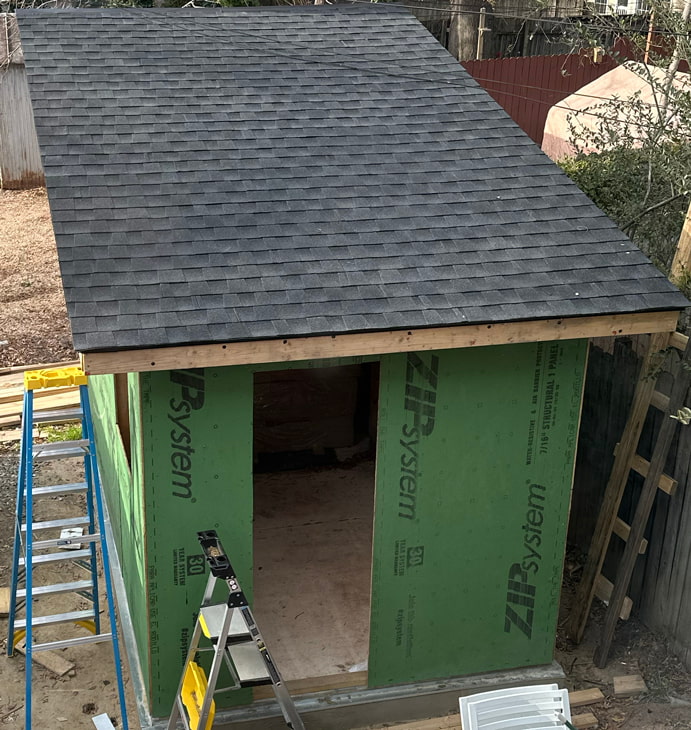
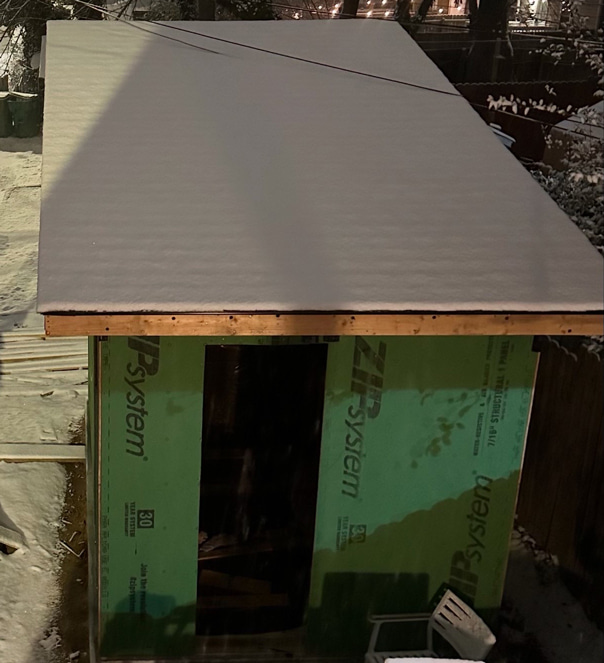
Not trusting myself to avoid falling while installing all of the above, I hired a roofing crew. In less than a day's work, they laid down Ice & Water Shield along the roof edges, installed underlayment, installed drip edges, and shingled the roof. It turned out great and I'm glad I decided to hire out on this one, especially since they got it roofed in time for the first winter snow.
Before the crew could install the fascia, they needed me to install the soffits.
Up next
Next I paint and install the soffits, then the roofing crew comes back to install the fascia. Stay tuned.