Site grading and concrete formwork
A good foundation starts with great site preparation. For my shed/workshop, I need to clear and level a 9'x13' patch of dirt.
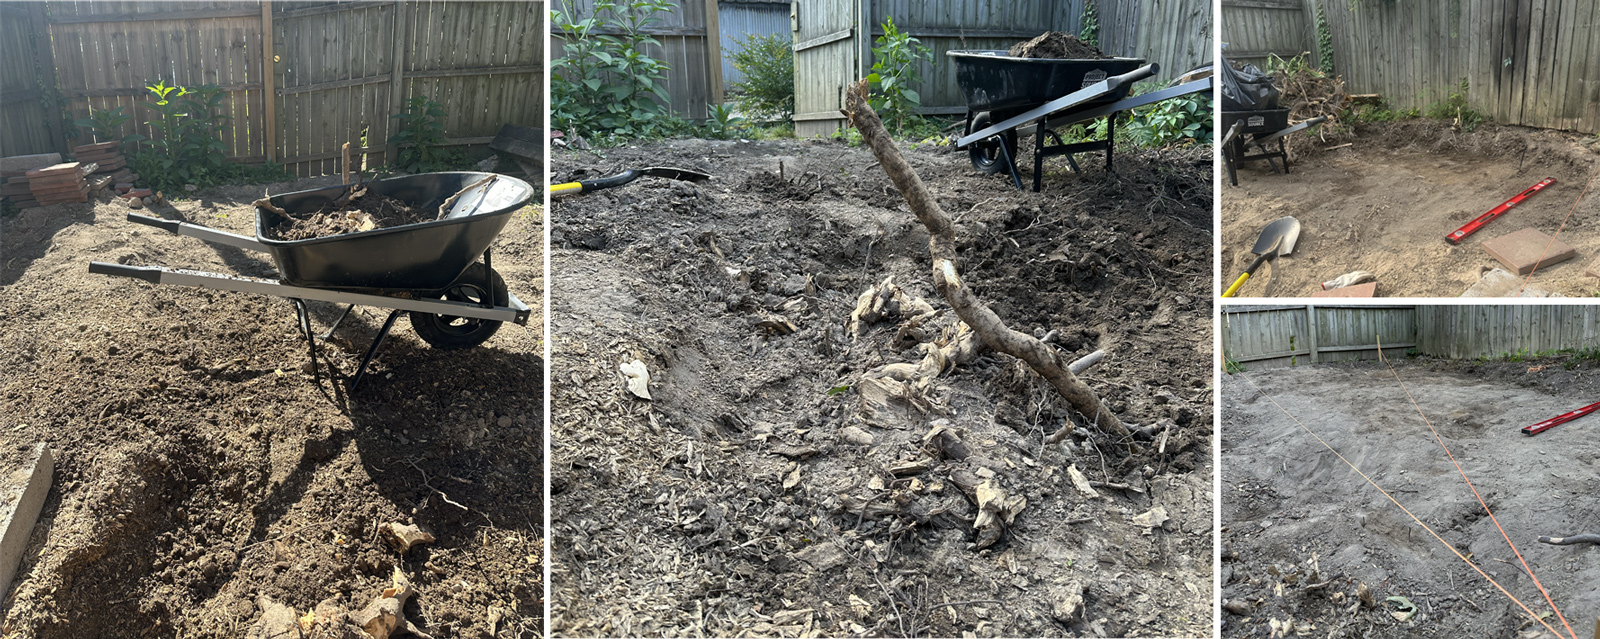
Establishing grade and clearing dirt
To establish grade (ground level), I used the highest point in the surrounding yard. Then, I measured 6" above grade to establish where the top of the slab should be. I drove a wood stake into the ground, made a mark at 6", and tied a string line at the mark. Then I drove another wood stake 9' away, tied the string line to it, and leveled it to the first stake using a string line level. I leveled the earth to 10" below the string line (6" above grade + 4" below grade) using a tape measure and a level. From there it was a matter of clearing dirt and roots using a shovel and a maul to get the whole 9'x13' patch of dirt clear and level.
A wheelbarrow and contractor bags were helpful as well for hauling all that dirt away.
Compacting the ground
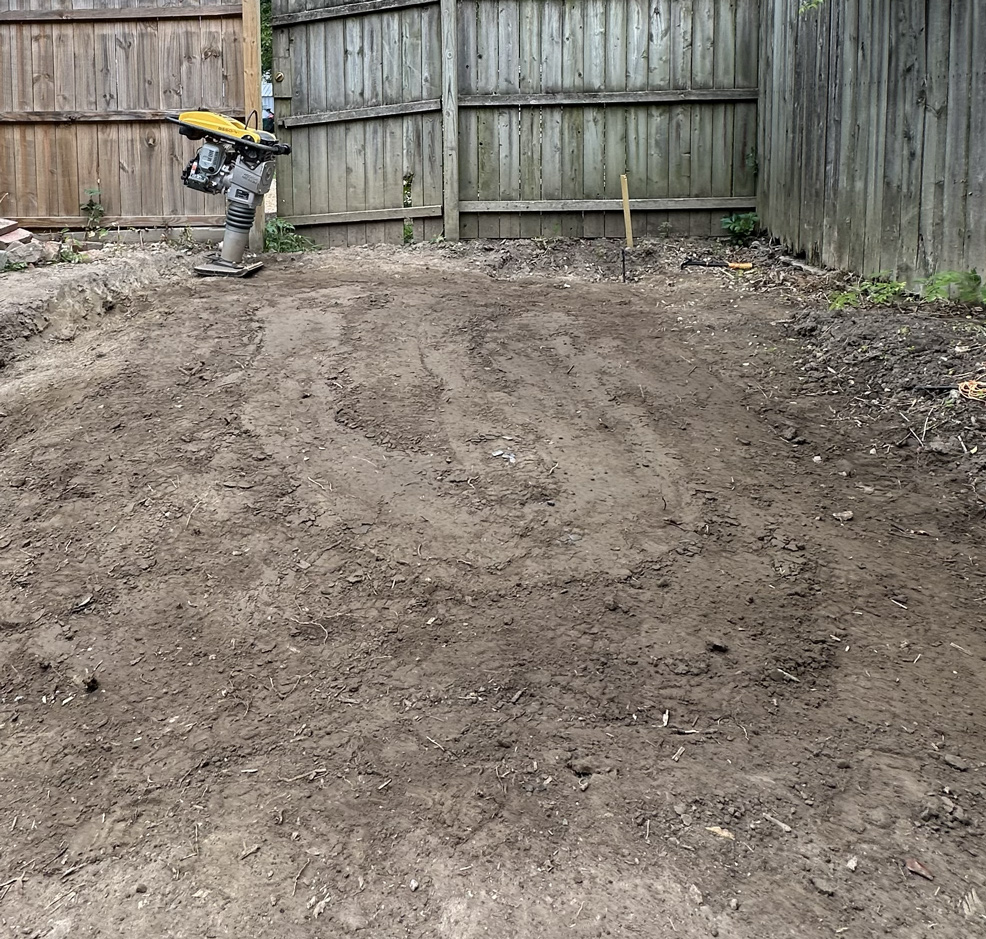
I rented a jumping jack/earth rammer to compact the earth. This step helps limit settlement after placing the concrete, avoiding voids below the slab which could cause it to crack.
Side note: almost all concrete will inevitably crack. But, it's possible to limit cracking and ensure the cracks stay small.
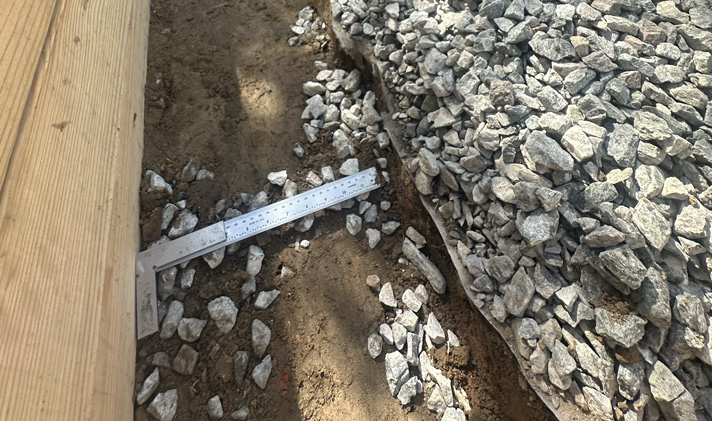
Laying down landscape Fabric
A rectangle of landscape fabric was placed to help separate the gravel from the dirt below it while still allowing moisture to migrate out.
3 Tons of Gravel
I had 3 tons of gravel delivered which had to be shoveled and wheel-barrowed into the yard. If you can get the delivery truck to dump it directly onto your site, I highly recommend that vs moving 6,000 lbs by hand + wheel barrow.
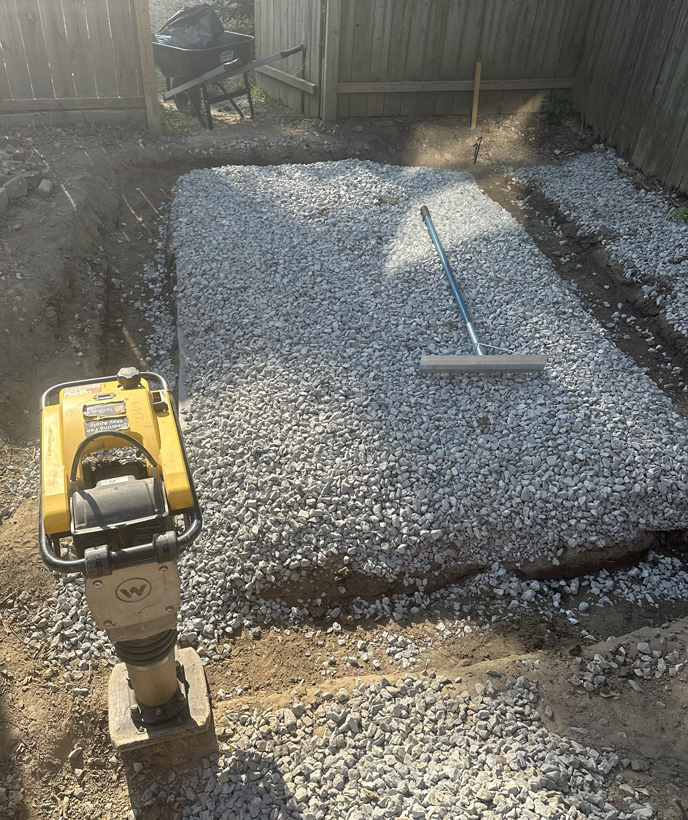
The gravel acts as a subbase below the slab, providing support and stability as well as a capillary break to the slab.
I placed and compacted the gravel in lifts of 2-3". Since I only had the jumping jack for a day, it all had to be done same-day; it was a long day.
Footings
I dug footings after placing + compacting the gravel. Footings are 12" wide and supported on undisturbed native soil.
Laying out the formwork
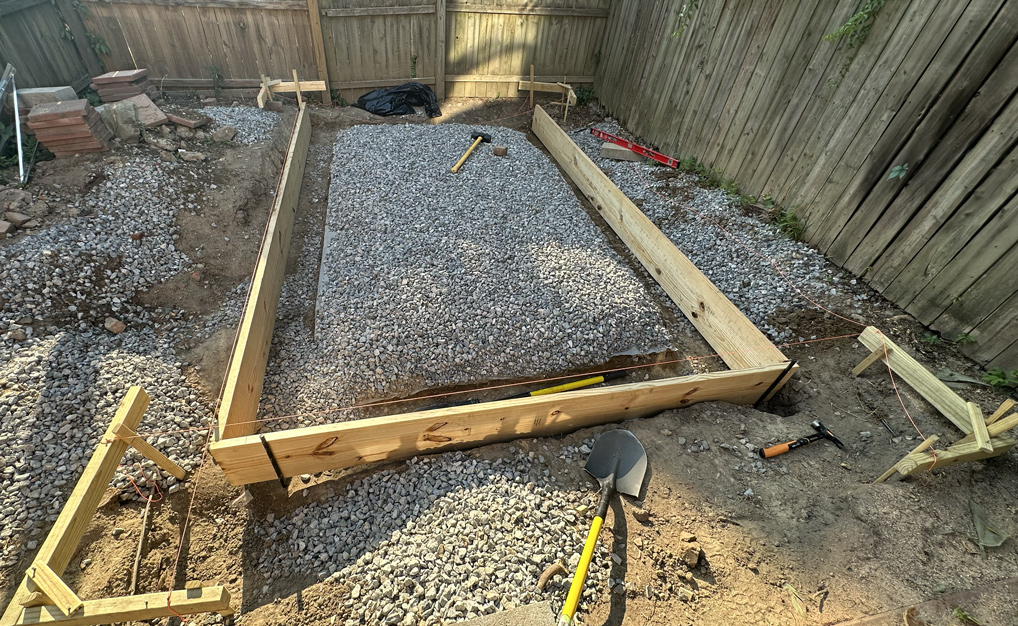
To establish where the concrete formwork went (and therefore the concrete slab), I used batter boards + string lines to measure, square, and level the initial 2x12 boards.
Next, I placed 2x8 boards above the 2x12 boards to give me the full 18" slab height (plus a little extra; it came out to ~19-20").
Driving stakes
Concrete weights a lot: about 4000 lbs per cubic yard. Since my forms were ~20" tall, they needed to be able to withstand ~250lbs/sq ft of force.
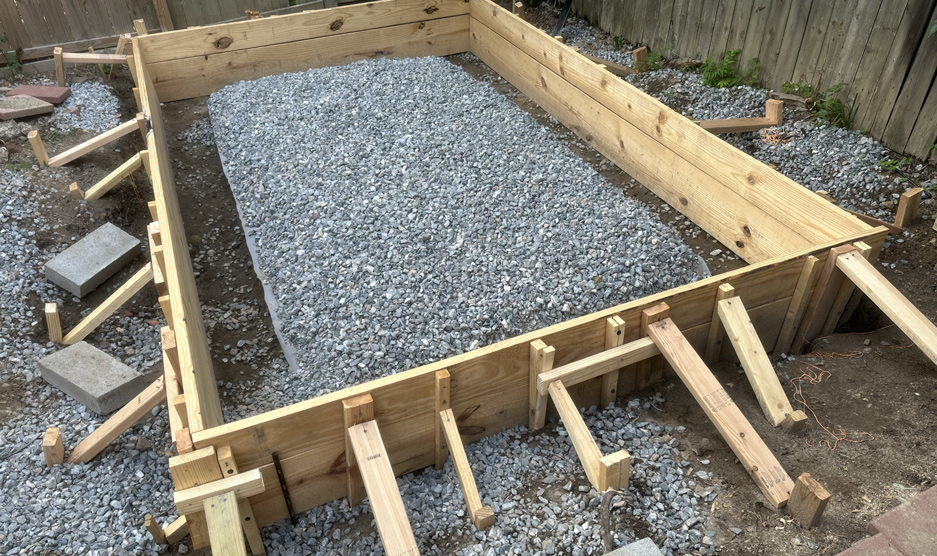
The forms were braced with a mixture of wooden stakes, metal stakes, walers (horizontal boards), and kickers (angled boards extending out to another stake).
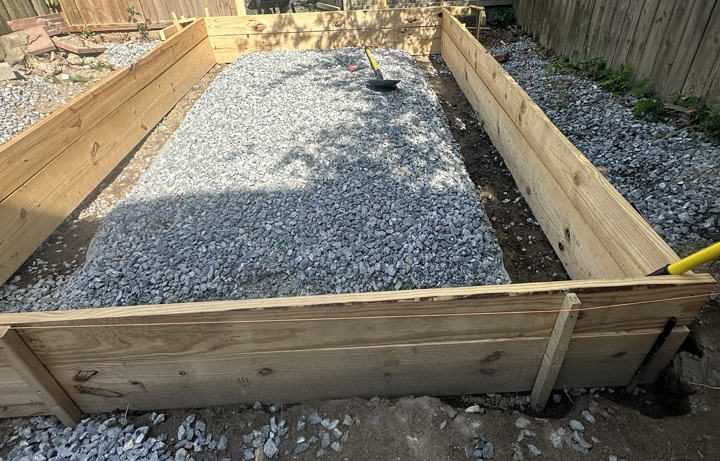
More gravel
At some point I added another ton of gravel in the center so I didn't end up with a behemoth 8" thick slab.
Vapor barrier install and rebar placement
A 10 mil vapor barrier was laid under the slab to protect it (and the building interior) from moisture and to mitigate radon entry. To make it a tight seal, the vapor barrier was taped at overlapping seams with Tuck Tape.
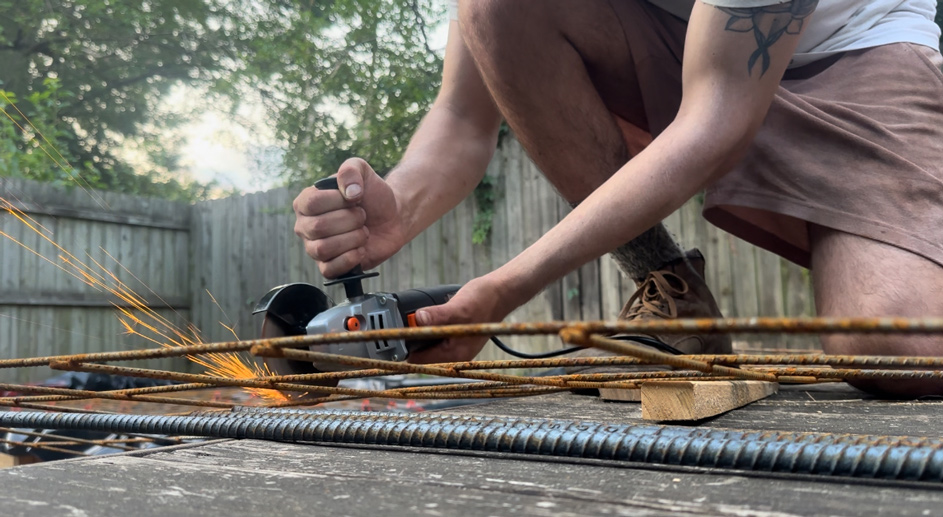
Two rows of 1/2" rebar were placed around the perimeter of the thickened edge footings to provide structural reinforcement. They were elevated 3" and placed so as to provide 3" of cover on all sides.
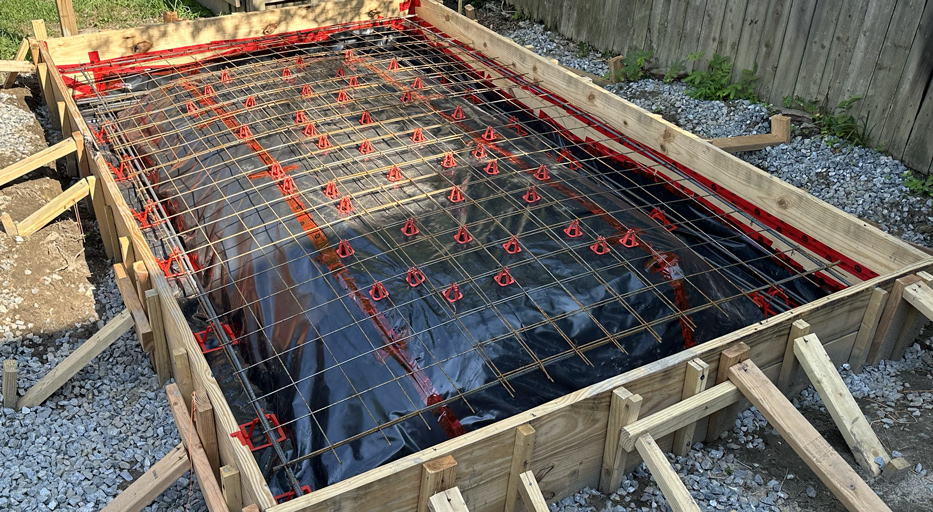
A grid of 6 gauge, W2.9 welded wire mesh was placed at the top of the slab to mitigate shrinkage cracks. An additional 1/2" perimeter bar was placed to provide additional structural reinforcement.
Next step: Pouring and curing the concrete
The next step is to pour and cure the concrete. Stay tuned for further updates.