Pouring Concrete and Removing Forms

For pour day, I ordered 5 yards of 4000 psi concrete with residential fiber from a ready-mix supplier. I initially planned on adding 1% retarder to the mix to slow down the cure in the sweltering 95 degree weather, but the crew I hired said they preferred it without the retarder. Simple enough. I had the supplier add ice to the mix instead.
Things moved quickly once the truck arrived. The crew helped the driver manuever the truck into place, then the pour began. By the time I thought to take a photo, they already had the concrete placed.
Finishing and cutting a control joint
After placing and screeding the concrete, the crew hung out in the shade for a bit waiting for the right time to finish it. I had a cooler ready for them with water and powerade which seemed to be appreciated.
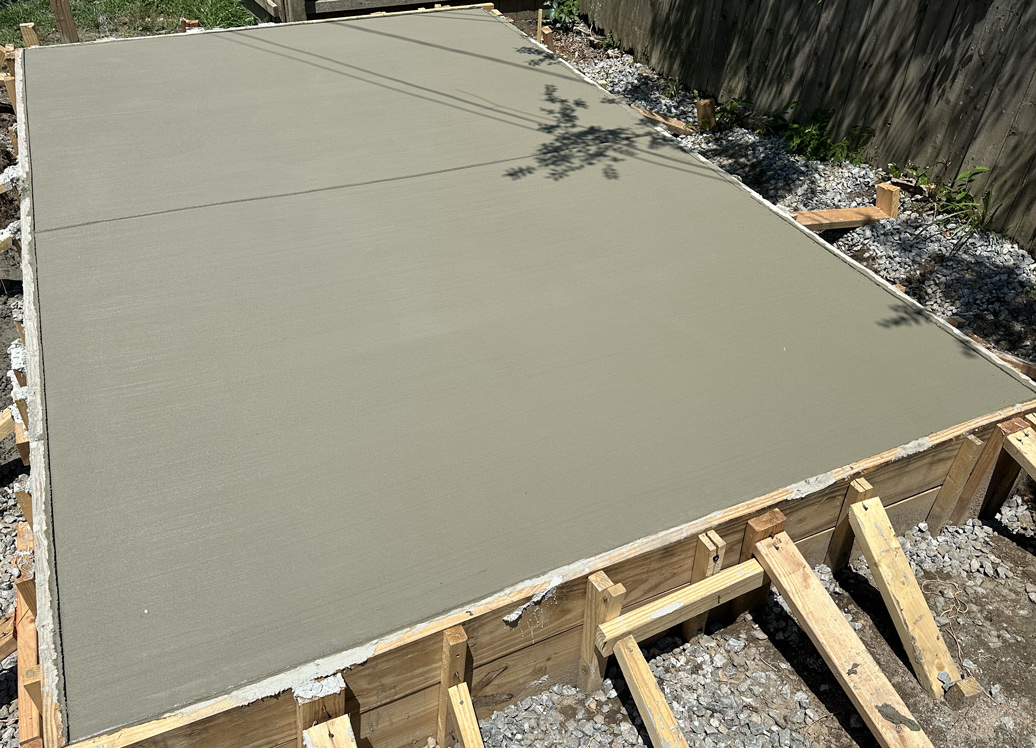
They troweled the surface, rounded the edges (helps mitigate chipping), gave the slab a broom finish, and cut a control joint.
The control joint worked perfectly. Since it was so hot, the slab quickly cracked along the control joint after the crew left. All concrete cracks, so this was exactly what I was hoping for. It keeps the crack mostly invisible, and I can cover it up later with some self-leving sealant.
Wet-curing

Concrete gains strength slowly over time through a process called curing (technically, it's called hydration). The curing process can be improved by various methods. The one I chose was wet-curing, in which I covered the slab with a canvas cloth and watered it every 15-45 minutes to keep the slab continually hyrated. The most important time to do this is in the immediate days following placement. This website can explain the full process for those interested, and has a cool graph which shows how just 1-3 days of wet-curing can improve the strength significantly.
Form removal
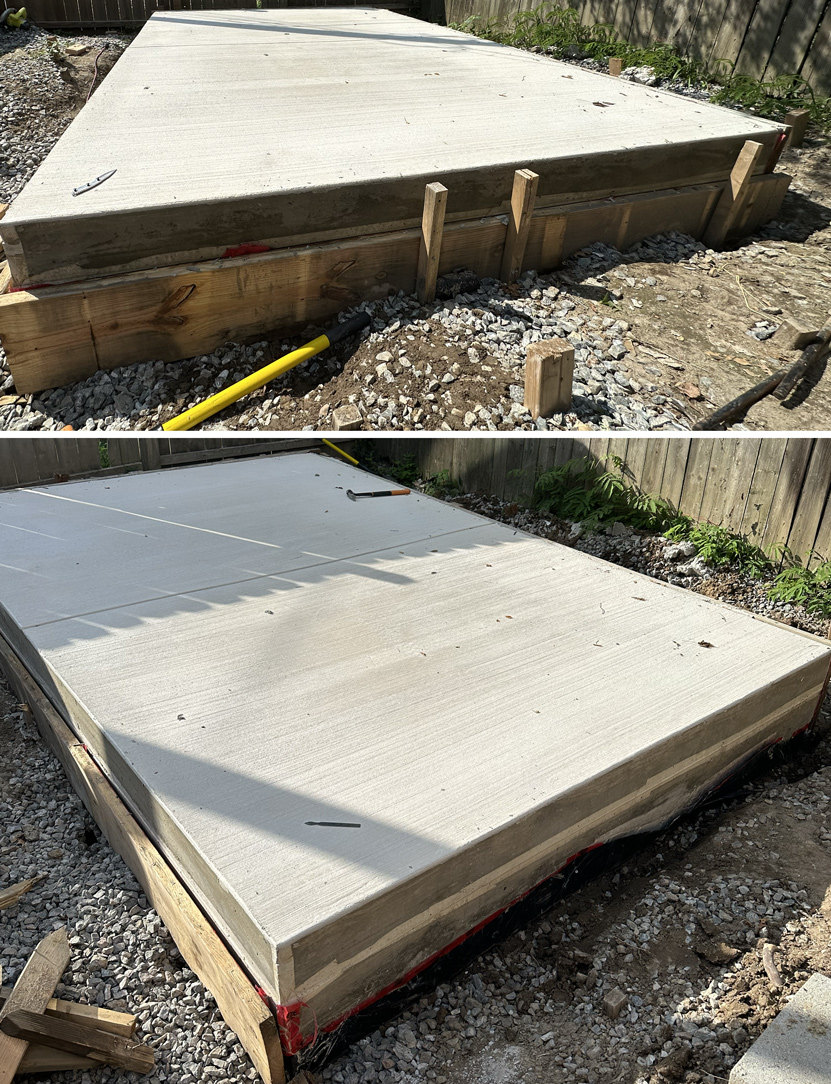
After curing the concrete for 3 weeks, I started removing the forms.
It was a much lengthier process than I anticipated, mainly due to the sheer number of stakes I drove into the ground and the various types of fasteners I used. If I were doing it again, I would stick to just using duplex nails instead of the mix of common nails, duplex nails, and screws (with 3 different types of bits). The mix had me switching between hammer, screwdriver, switching out bits, etc. Don't even get me started on pulling stakes out of the ground; they'd been in there for weeks so they really stuck to the muddy clay soil around them.
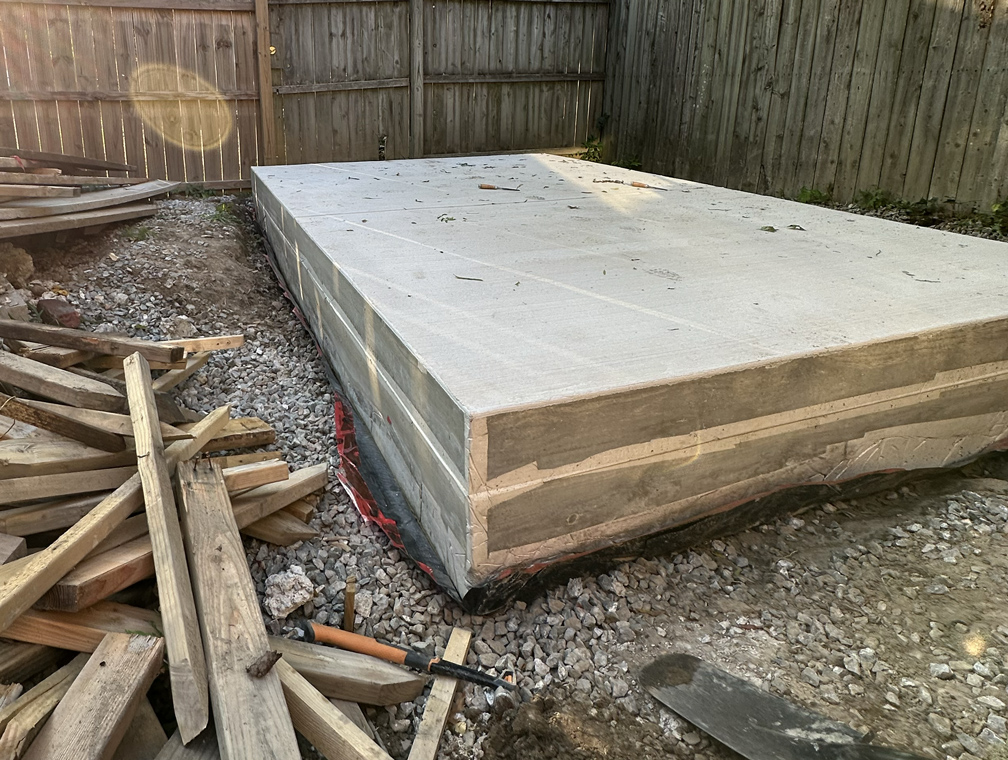
Eventually I got all of the stakes out and the forms off. Look at that beauty.
The next step is insulating the edges and protecting the insulation.