Framing the Shed / Workshop
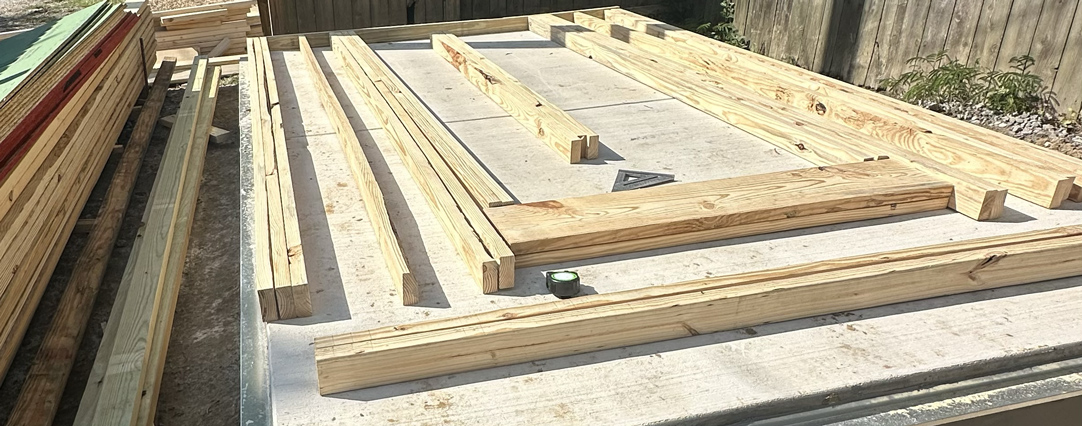
That's a lot of lumber!
I started with the biggest wall first: the tall, back wall of the building. I cut the studs to 127.5" each with a miter saw to ensure clean, accurate cuts. Since this wall was on the taller side, I beefed it up with extra studs on the corners.
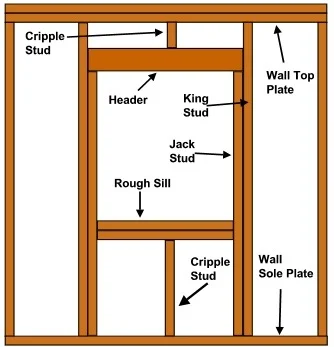
To prepare for a window opening, I laid out the jack studs, cripple studs, and header. A speed square, measuring tape, and a pencil were invaluable in marking locations for the studs. The header was built from two 2x10s with a plywood spacer between them (to make it a full 3.5").
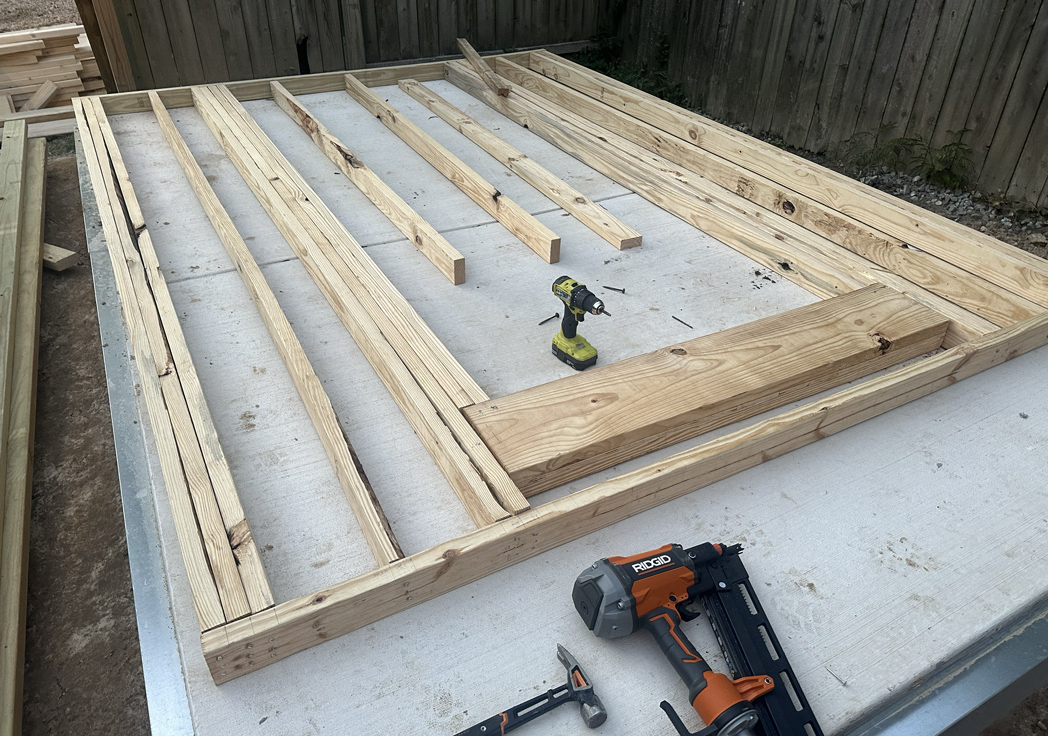
Then I end-nailed the studs into the top and bottom plate with 3 nails per side, per Table 602.3(1) of the 2021 VARC. It was my first time using a framing nailer; I expected it to feel dangerous, but it felt surprisingly easy to operate safely. I worked slowly, and soon had everything nailed together. Then, I hand-nailed larger nails into the columns to create built-up columns (and give them more strength).
Standing up walls
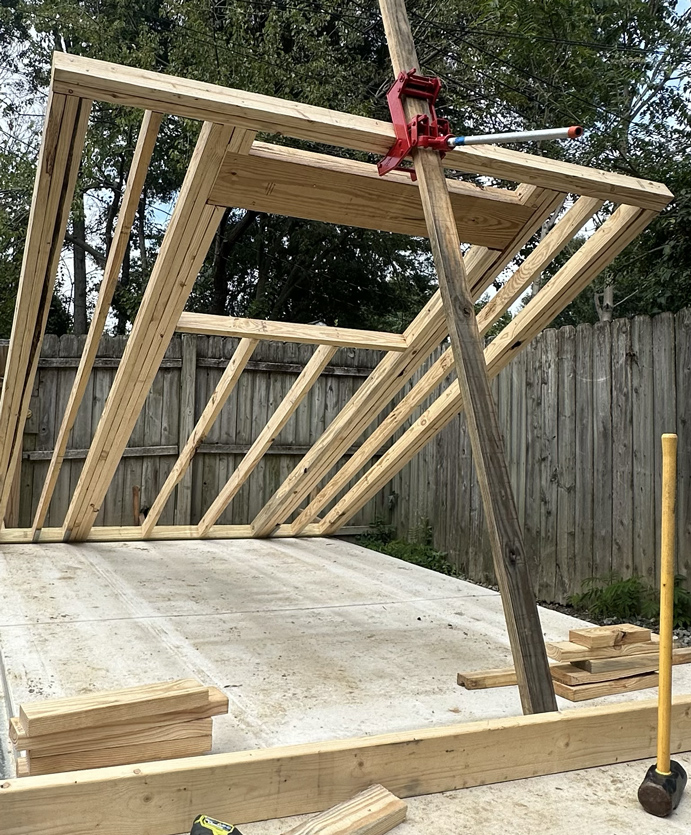
Walls are heavy! Since this one was so tall, I used a sturdy, cast iron wall jack coupled with a metal pipe and a 16', #1 grade, southern yellow pine 2x4 to lift it. The whole process felt a bit sketchy, but the system worked well enough. Once the wall was up, spare 2x4s were used to brace it in place.
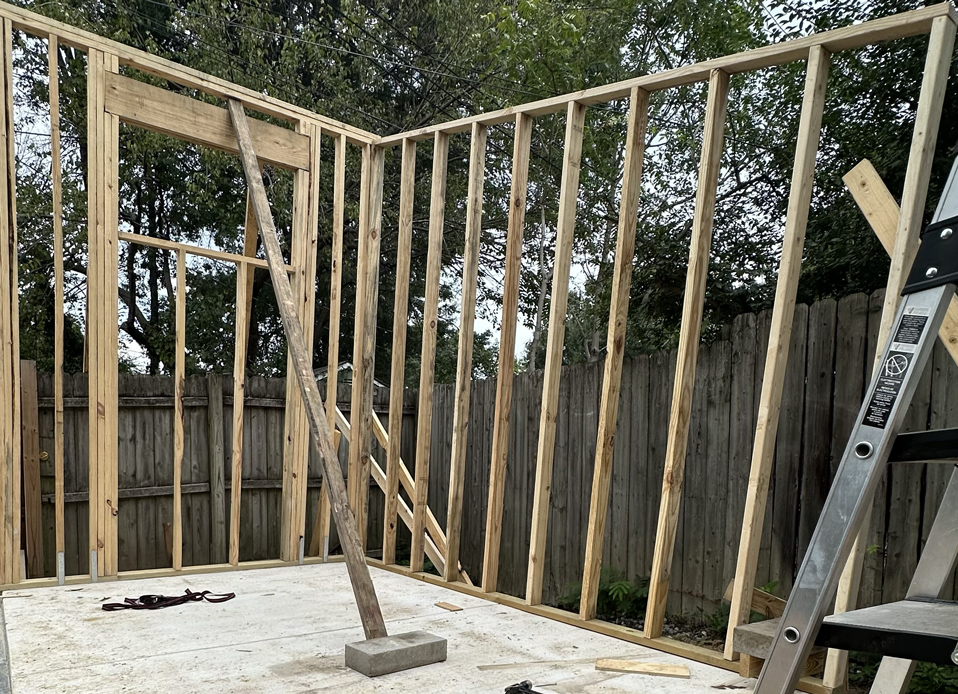
Framing and standing the second wall was a breeze. Since it didn't have any windows, I nailed it, then stood it up without even bothering to use the wall jack.
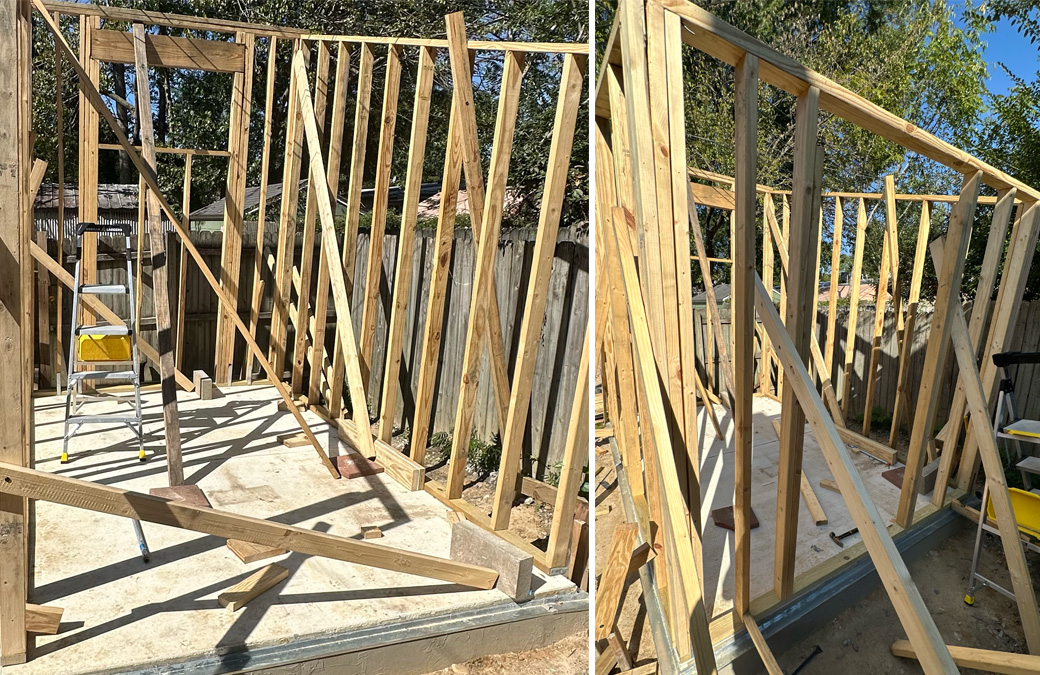
Things were back to feeling sketchy again with the third wall. The two standing walls got in the way when framing it, and doubly so when lifting it. I lifted it with the wall jack in increments, maneuvering the bottom plate into place between lifts. About halfway up, the wall jack slipped from its hold and the wall came crashing down. Thankfully the other walls and a stack of plywood braced it from falling too far.
I tried the third wall again, going slower this time, and managed to get it lifted with the help of some extra bracing.
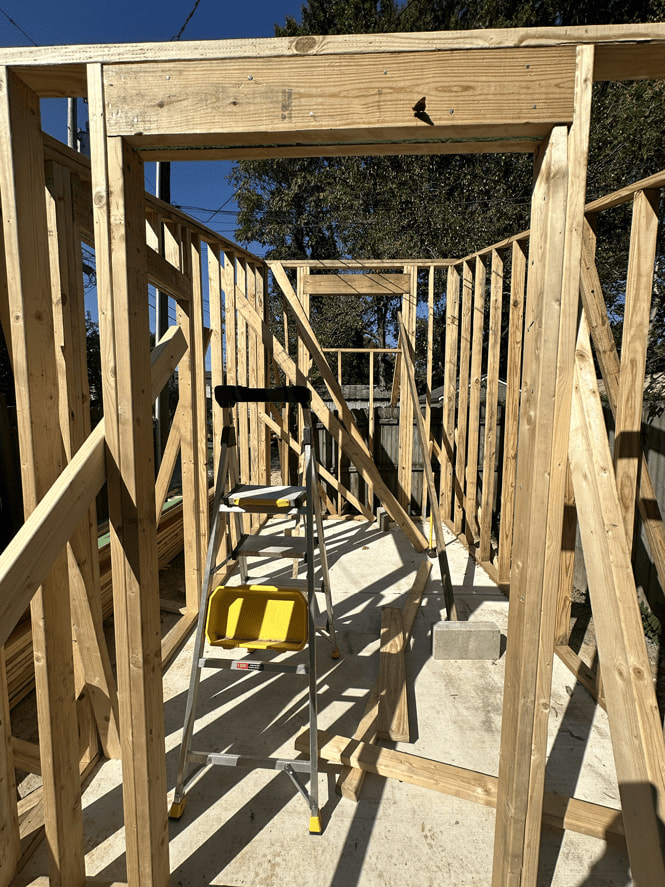
The fourth wall presented another challenge: lifting the wall with three walls and a deck in the way. I opted to build it partially on the slab, nailing most of the studs to the bottom plate, then attached a board near the top and pushed it up with the wall jack. Once it was up I toe-nailed in the remaining studs and attached the top plate.
Installing anchor bolts

Once the walls were up, they needed to be bolted down. I used Simpson Strong Tie's 1/2" Titen HD anchor bolts spaced at ~4' OC, coupled with 3" bearing plates, with at least 2 bolts per sill plate, to satisfy the requirements of VARC Section 403.1.6. Since I had pressure-treated sill plates, I used mechanically galvanized Titen HDs.
An SDS Rotary Hammer was essential to drill the holes. I tried to drill them with a hammer drill before I upgraded to the rotary hammer and it was an absolute chore; the drilling took half an hour per hole and the bit wore out after 3 or 4 holes (and those bits aren't cheap). Once I started using the rotary hammer, it was a quick 30 seconds per hole and the bit kept working for hole after hole.
The difference is that the rotary hammer hits with more force, much like a person would hit the concrete with a chisel. After each hit, the concrete breaks up a little bit, and the rotary hammer rotates the bit, then hits the concrete again, chiseling away the concrete. The hammer drill doesn't hit with enough force to break the concrete, so it has to drill into it like a drill bit into wood... except it's concrete. So the bit quickly wears down.
Simpson Strong Tie specifies a maximum installation torque of 65 lbf-ft, so I picked up a torque wrench from a Harbor Freight sale, set it to 50 or 55 lbf-ft, and screwed the Titen HDs in.