Outswing Door Installation
The final piece to getting my shed workshop's building envelope sealed off from bugs and weather was the door.
Picking an outswing door
With such a small build, interior space is essential. An outswing door maximizes that interior space by swinging outward, freeing up entryway space.
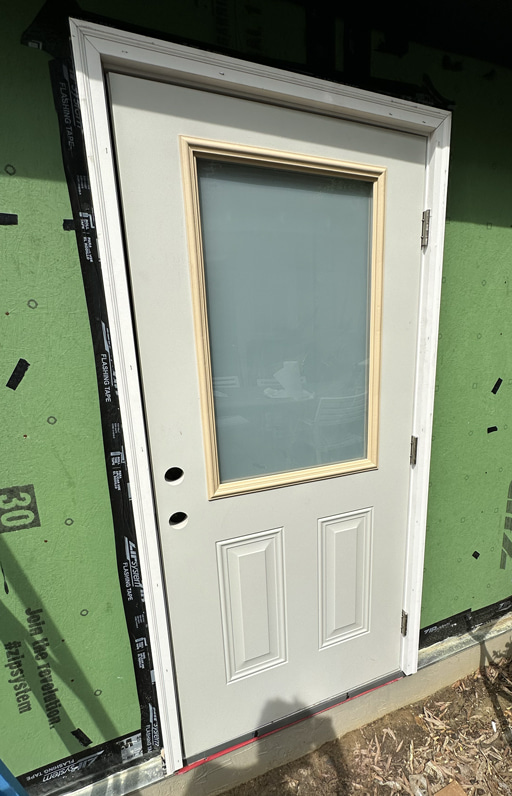
Since I never installed a door before, I didn't trust myself to perfectly level and install the door jambs, hinges, and lockset bores. Thankfully, prehung doors exist, with the hinges, frame, and sill already installed. Lowes sells some highly rated prehung outswing doors for ~$300. However, if I wanted windows in the door (and who doesn't want more light in their workshop), prices quickly shot upward; outswing doors with glass ran almost $1000. Instead of splurging on that, I ordered a budget-minded outswing door from Lowes and a door glass kit from Zabitat.
Installing the door glass
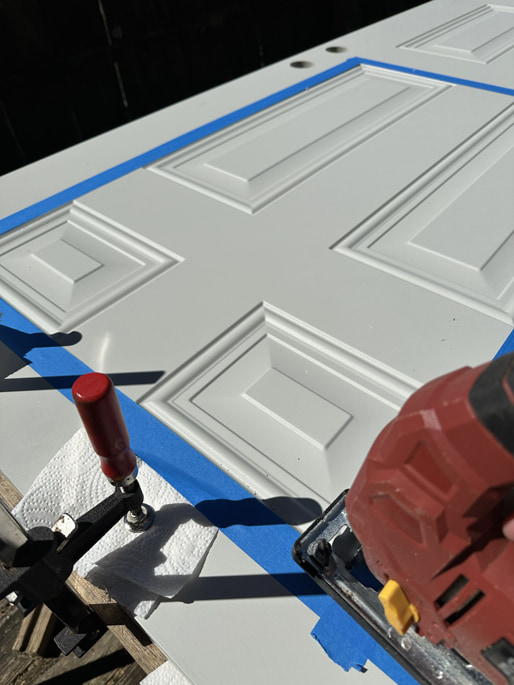
After some snafus with my door order involving a broken sill, a return trip to Lowes, and a fantastic replacement + price reduction, I began the process of installing my door glass kit. I followed Zabitat's instructions, took the door off its hinges, marked out a giant rectangle on the door with tape, then cut it out with a jigsaw. Note for fellow DIYers: Wear protective glasses and a respirator for this step. Do not use a circular saw; the dangerous metal shards will go flying everywhere if you do.
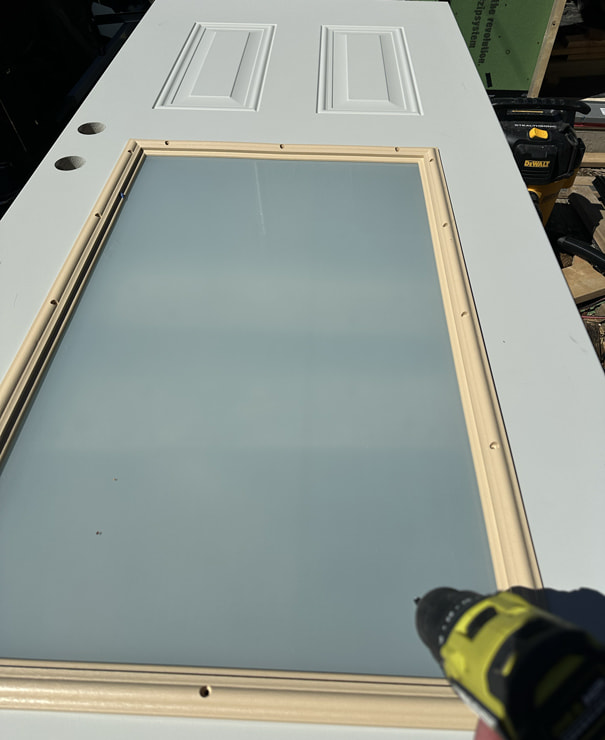
Next, I positioned the glass inside the hole and installed the paintable plastic frame using the provided screws. It felt surprisingly sturdy once it was screwed in.
Dealing with exterior insulation
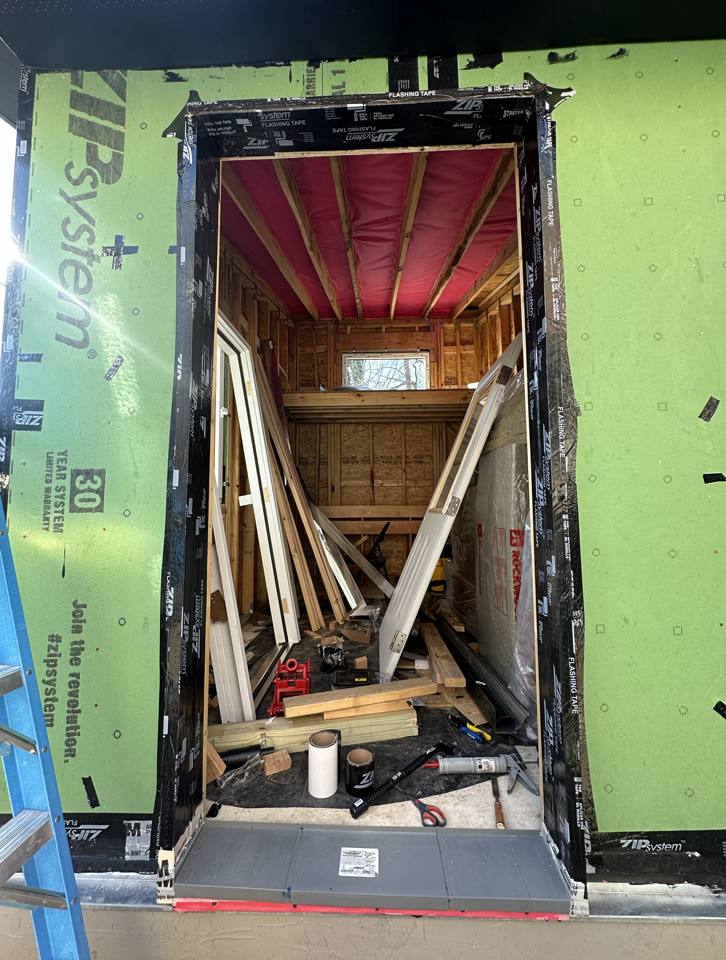
Since the shed will have 2" of exterior rockwool insulation on it, the door frame and sill needed to be bumped out beyond the siding. This process went a lot like the window framing, except this time I used bucks (making this an "outie" door).
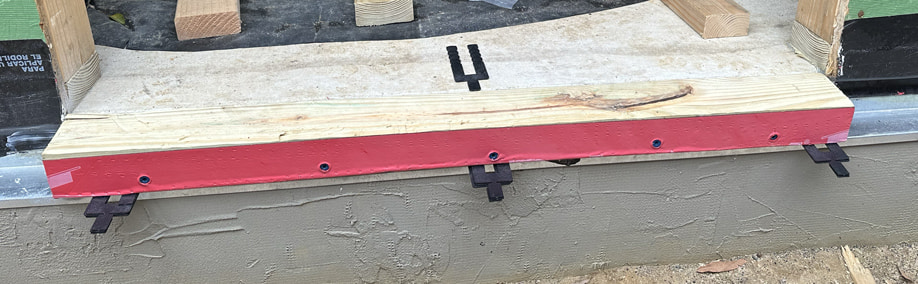
For the sill extension, I ripped a piece of treated 4x4 to size, sloped slightly to allow water to drain, then screwed it into the concrete slab using Tapcon concrete screws. I ran a bead of Big Stretch caulk at the top between where the sill met the concrete and left the bottom uncaulked so any water could drain. I also ran some leftover TRM flashing across the front of the sill for extra water protection.
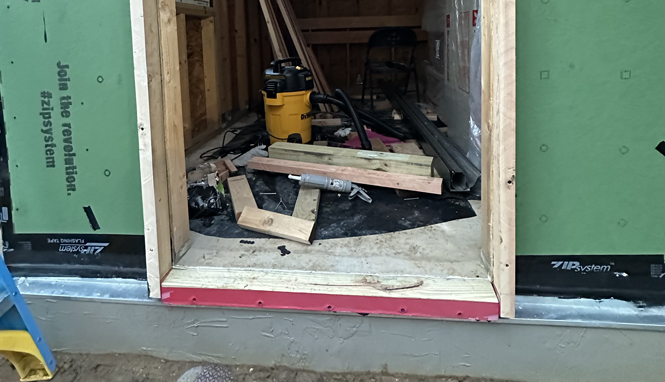
For the door extension bucks, I ripped 2x4s to size and screwed them in through the sheathing into the studs.
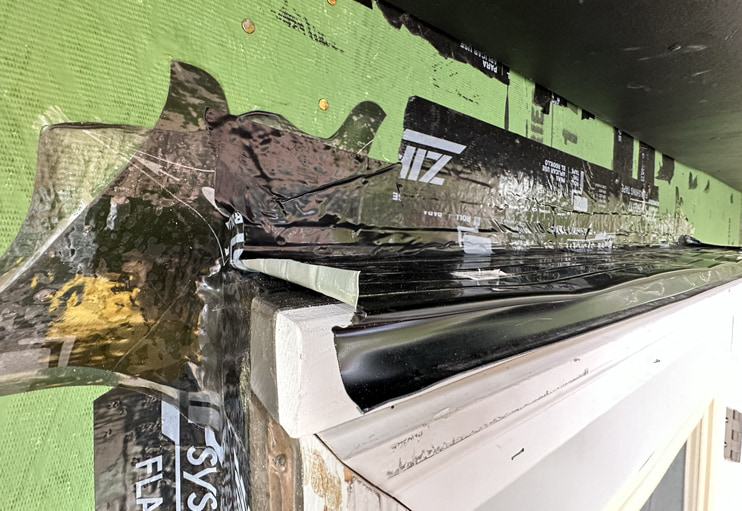
Flashing the door bucks
I flashed the sill with a combination of 3M 8067 flashing tape and a premade sill pan by Jamsill.
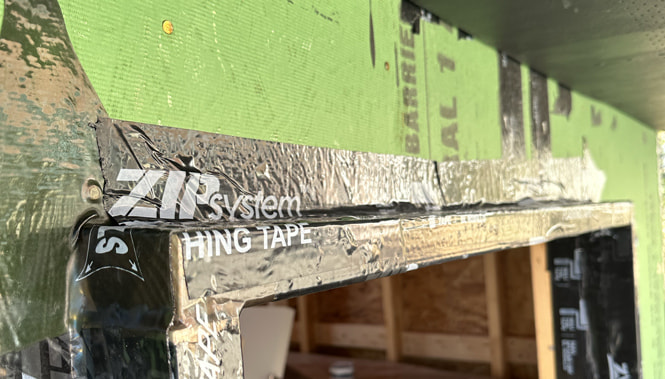
Then I flashed the door bucks upward in shingle fashion using Zip Flashing Tape. I used a mix of Stretch tape and Flashing tape at the top for extra water protection.
Building and installing extension jambs
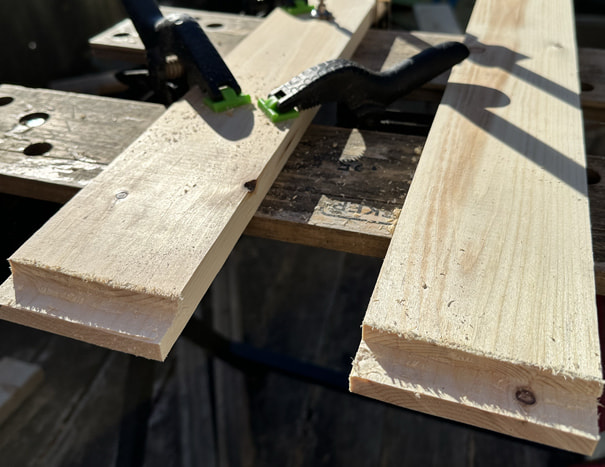
Since the door came prehung for 2x4 walls, I had to create extension jambs to account for the extra 2" of exterior insulation and 0.75" of furring on my walls. My woodworking skills came in handy and I routed out some joints in the cedar boards.
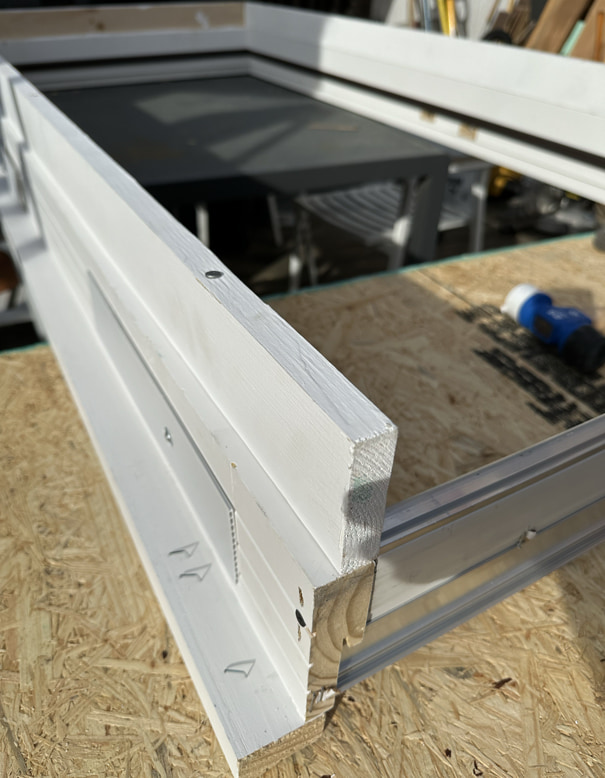
Next, I primed the boards and nailed them into the existing door jambs. This part was a bit scary because I was afraid I would break the door frame while hammering into it, but thankfully it all went well.
Installing the door
The last step was installing the door and a drip cap over it. The door installation went pretty easily with some shims and a wonderful helper. I screwed through the frame into the studs to ensure a sturdy fit.
The drip cap went on next. I couldn't find long enough premade flashing, so I ended up reusing some leftover roofing flashing. It's not pretty, but it'll get covered up by siding anyway.
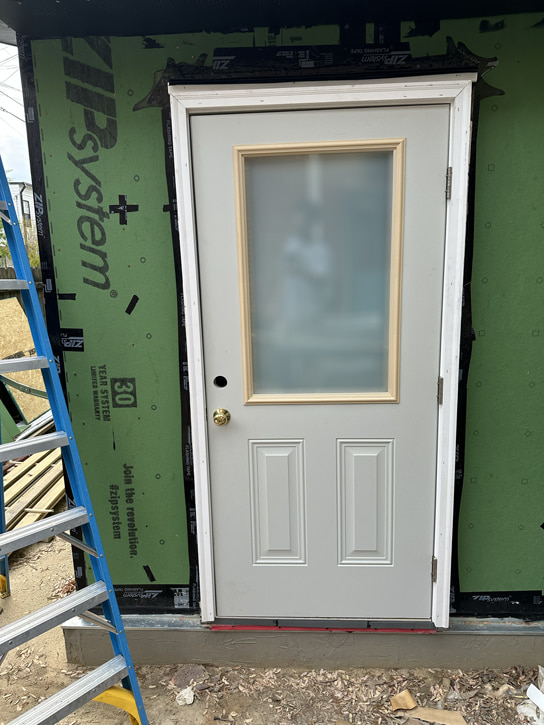
Finally, I added a brass door knob (it helps to be able to open and close the door).
Up next
Next I dig a trench and have electricity run to the shed, with some setbacks along the way!